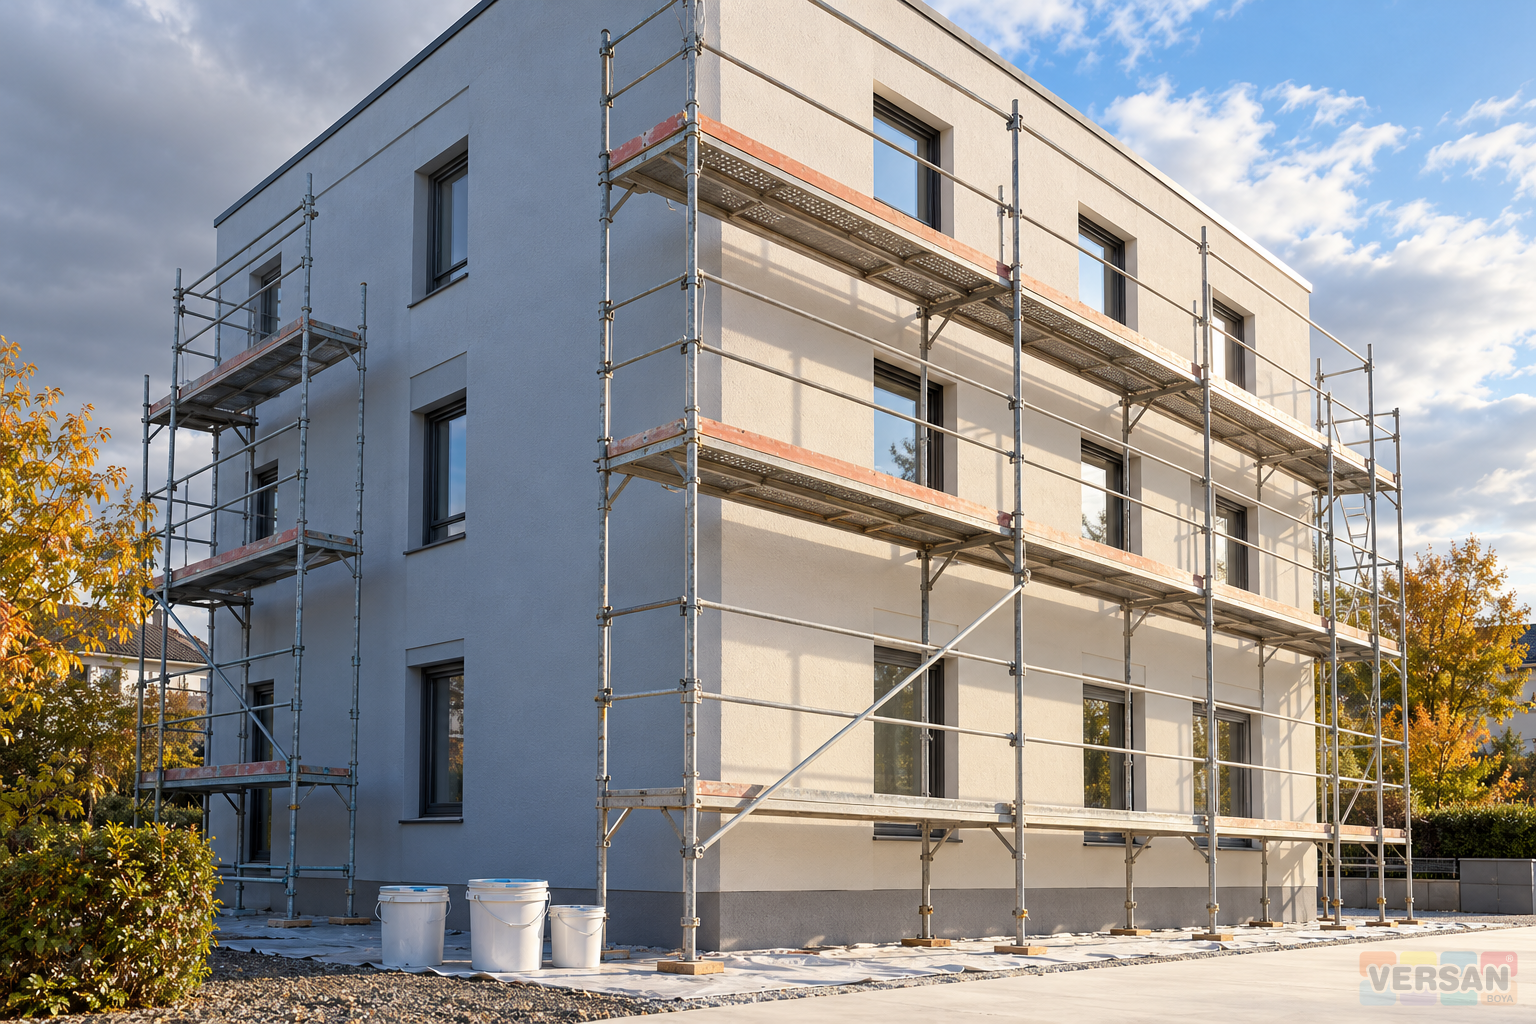
A suitable weather window for exterior painting is more than a few hours without visible rain. Surface preparation, primer application, the interval between coats and the first period of protection for the new film all belong to the same plan. A wall that is dry and shaded in the morning may receive direct sun later. A job started in clear conditions may encounter evening dew. The schedule needs to cover the conditions required to complete the selected system, rather than only the hours when the crew is available.
Products within the architectural coatings range should not be assigned identical application requirements. Use the technical data sheet, substrate condition and local weather assessment together. This article does not provide today's forecast for a particular location or a drying time applicable to every paint. Its purpose is to translate rain, humidity, sunlight and wind information into a workable sequence, with identifiable decisions for starting, stopping and restarting each part of the facade.
1. Establish the product and system requirements first
Identify the primer, repair material and substrate as well as the topcoat. A schedule prepared for matt acrylic exterior paint cannot be transferred to another coating merely by changing the product name. Check the current technical data sheet for ambient temperature, substrate temperature, humidity, recoating and protection from rain. Resolve missing or unclear requirements with technical support before committing the sequence. Otherwise a detailed programme may be built around an assumption that the selected material does not support.
The archived catalogue accepted as an official site source gives a surface and ambient temperature range of +5 °C to +30 °C for certain exterior products. That is not a universal requirement for every coating family or a substitute for the current instructions for the product being used. Do not merge separate application and drying entries into one ready-made job duration. Keep primer and topcoat conditions on separate lines when necessary, with the document identity and revision used to establish each requirement.
2. Divide the building into real working zones
The north elevation, a sunlit corner, an area beneath an overhang and a wall close to ground level may have different conditions at the same time. Divide the work by orientation, height, shading and access. A corner exposed to runoff and a wall that stays shaded may require different checks. A simple plan showing zone identity, substrate condition and outstanding repairs connects weather information to the area actually being considered. It also prevents a measurement from one convenient location from being used to release every elevation.
Where painting forms part of a facade insulation system, assess the requirements of that system too. Choosing matt silicone exterior paint does not demonstrate that underlying layers are ready. A leaking parapet, open joint or unfinished repair is not resolved by finding a dry day. Separate paint-ready areas from those still requiring investigation or repair. That distinction allows the team to use a suitable weather opportunity without coating a surface whose underlying problem remains unresolved.
3. Use the forecast alongside site observations
For planning, the hourly development and relevant warnings are more useful than a single daily weather symbol. The Turkish State Meteorological Service hourly forecast presents expected conditions, temperature, humidity and wind information together. Record the location and the time at which the forecast was checked. A screenshot for another district or a forecast saved the previous day is weak evidence for a new shift's decision. Forecast information should remain identifiable as forecast information, with its relevant location and time.
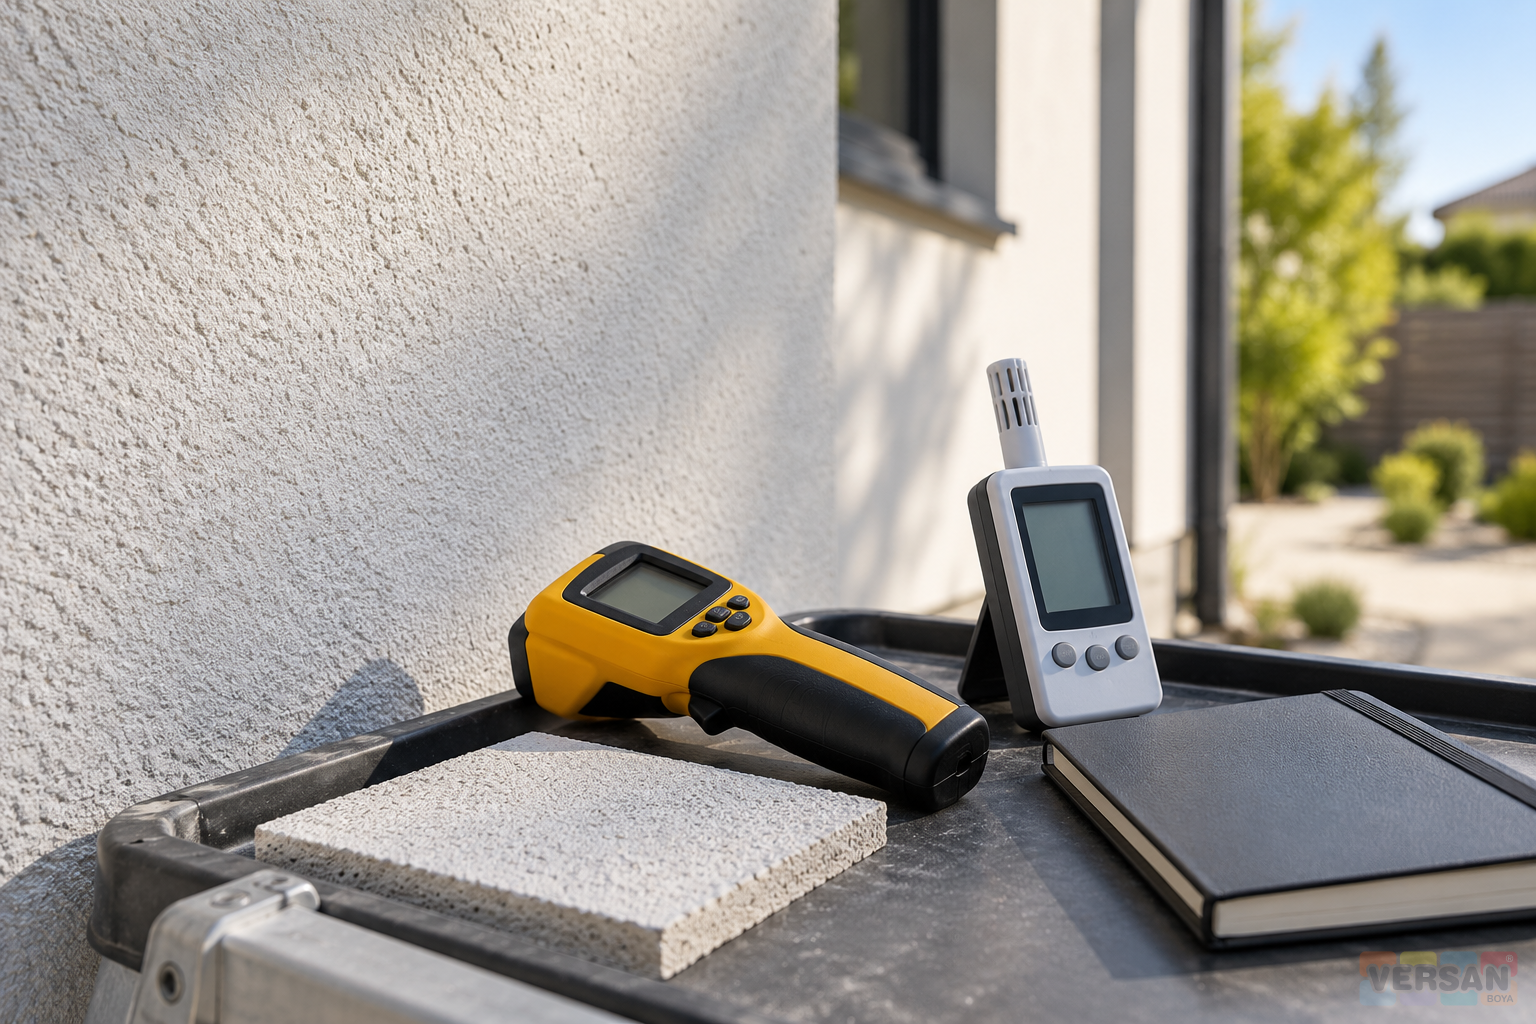
At the work area, assess actual surface temperature, damp shaded positions and local wind effects. An instrument displaying a number is not enough on its own: the method, surface and recording time must be understandable. If the forecast and site observations disagree, review the work zone and starting decision. Do not discard an unsuitable observation simply because the programme needs the crew to continue. A forecast helps organize the job; it does not replace the acceptance checks required for the substrate and selected coating.
4. Identify what each measurement represents
A useful measurement needs a location as well as a value. The facade plan can identify the point, whether it was shaded or sunlit and the check time. A shaded reading should not automatically release an entire sunlit wall. Likewise, establish the substrate and method for which a moisture instrument is suitable. Numbers from different devices cannot be compared against a common acceptance limit without understanding their scales and methods. The record should make the basis of the decision intelligible to another competent reviewer.
Surface temperature and moisture within the wall answer different questions. An acceptable result for one does not establish the other. When new repairs, old paint and exposed mineral areas are assessed with the same instrument, consider the limitations of interpreting those different surfaces. Buying a meter is not itself proof of control. The responsible person must connect the measurement with the actual decision and product requirements. A number that cannot be explained should not become a reason for approval merely because it appears on a display.
5. Plan backwards from the final protection requirement
Begin by establishing the conditions the last applied coat needs during its initial protection period. Then add the required intervals between coats, primer work and surface preparation in the correct order. Obtain those intervals from product information rather than crew productivity estimates. Faster application does not remove the material's waiting requirements. Fitting the brush or roller work into one shift does not prove that the fresh coating will be ready for an adverse change in conditions shortly after the team leaves.
Keep the waiting requirement for silicone exterior primer separate from the topcoat's recoating interval. If it is unclear how changed conditions affect a documented reference time, request confirmation. Include alternative work in the programme to reduce pressure on a marginal elevation. Preparing materials, inspecting completed areas or arranging protection may remain suitable when coating a particular wall is not. Those alternatives should be practical tasks, rather than an expectation that unsuitable weather can always be overcome.
6. Derive the latest start from the remaining work
A latest starting point is more useful than a decision based only on the end of the shift. Consider the time needed to apply the remaining architectural section under control, then the verified waiting and protection requirements of the product. The sequence needs to fit within the period of suitable conditions. This article gives no common starting hour for every coating. Keeping the crew's application estimate separate from the material requirements makes it easier to see which part actually limits the programme.
If a section takes longer than expected, starting the next broad area should be a fresh decision. Reaching its natural stopping boundary must still leave the required protection opportunity. Decide early whether to reduce the working area or move the next section to another day. Assuming that a faster final hour will recover every delay can weaken application control. A documented hold on an operation that no longer fits the available conditions is a normal part of planning, rather than evidence that the plan has failed.
7. Distinguish a rain-free interval from a rain-ready film
A surface becoming dry enough to touch is not the same assessment as readiness for rainfall. Touch dryness, recoating and resistance to initial exposure describe different milestones. The name silicone exterior paint does not itself define an early rain resistance time. If the relevant period is not verified, do not write an assumed tolerance into the schedule. Establish what the product information actually says and which part of the application sequence it covers.
Decide in advance where work can stop if the likelihood of rain increases. A corner, joint or architectural boundary may be more manageable than an arbitrary interruption across a broad face. Appearance considerations still do not justify continuing in unsuitable conditions. If rain reaches a newly coated zone, record the area and timing. Assess the film and obtain the appropriate technical decision before covering a possible defect with another coat. A record of the interruption is more useful than treating the whole elevation as unaffected.
8. Consider humidity and dew through the full daily cycle
A dry surface in the morning does not describe the conditions later that evening. Consider humidity, surface temperature and the expected change towards night together, particularly for shaded areas. Sherwin-Williams' exterior application guidance explains why an acceptable daytime temperature alone does not establish suitable conditions during early film formation. Its product-specific numerical recommendations are not transferred here to another manufacturer's paint. The relevant point for planning is to assess the period following application as well as the moment the coating is applied.
The measurement method and acceptance limit used for dew point assessment must come from the selected system's requirements. Do not invent one temperature difference for every water-based coating. A finish such as textured silicone exterior paint needs its own drying and appearance checks. Touching the wall is not a complete moisture acceptance method. Record what the chosen instrument or assessment can establish and any limitations that matter for the particular substrate and construction.
9. Monitor sunlight and substrate temperature separately
A sunlit wall may be hotter than the surrounding air even when the forecast temperature appears acceptable. Do not enter the air temperature from a weather service as though it were a measured wall temperature. The colour of the existing finish, orientation and heat retention can affect the working period. Benjamin Moore's exterior temperature guidance likewise distinguishes air temperature from substrate temperature. Product limits still need to come from the current technical data sheet for the coating actually specified, rather than from a general guidance page.
Changing the direction of work to follow the shade can help only when substrate readiness and the required coat sequence are maintained. Temporary shading must also be assessed for its effects on working conditions and access. If application marks or premature surface drying appear under strong sun, do not make unapproved mixture changes to keep moving. Pause the zone and review conditions. That gives a traceable decision rather than a series of undocumented additions whose effects cannot be separated from the weather or surface condition.
10. Include wind and nearby activities in the decision
Wind can carry contamination into the work area, make application control more difficult and affect drying behaviour. The working limits of access equipment and protective sheeting must be considered separately. Conditions that appear acceptable for the coating do not automatically authorize use of a scaffold or platform. Those decisions require their own competent assessment. Include the time needed to stop work and secure materials in the programme, rather than assuming that the team can continue until the last available minute.
Nearby sanding, cutting or road work may also change the cleanliness of a prepared facade. If a wall prepared in the morning will receive its next coat later, check whether it has become contaminated in the interval. Dust carried onto the wall is not automatically an insignificant detail that will disappear into the paint. Coordinate the sequence with other trades. When preparation and coating take place on different shifts, specify how the surface will be protected and what must be checked before the coating team starts.
11. Good weather does not complete unfinished preparation
A washed wall, new render and a local repair may reach paint-ready condition at different times. A deeper repair can behave differently from the surrounding older surface even if its outer face looks dry. Assess the waiting and compatibility requirements for exterior wall filler separately. The time it was applied and the time it was accepted for the next operation are different records. A favourable forecast is not a reason to remove that acceptance step from the sequence.
For a wider investigation of an existing finish, consult the guide to exterior paint chalking and blistering checks. Where absorption varies, the article on facade absorbency before silicone exterior paint provides additional context. A satisfactory substrate assessment does not replace weather clearance, and weather clearance does not replace substrate acceptance. Release the zone for application only when both requirements are met, with outstanding issues visible in the work record.
12. Keep preparation products tied to their intended role
The presence of several primers on site does not make them interchangeable. Confirm the suitability of a product such as silicone isolation primer against the substrate and coating system. A weather programme should not conceal an unresolved product-selection question. When the approved primer and its application zones are identified, the waiting period can be associated with the correct material. This also helps a new supervisor establish why one area is ready while another remains on hold.
A product such as untreated concrete primer, associated with preparation for plastering, should not be grouped under a generic final-paint primer description. The construction stage and intended function may differ. Correct selection is a technical decision in its own right; its application requirements are then added to the schedule. If the material changes, check the documents again instead of assuming that the previous waiting plan remains valid because both containers are described informally as primer.
13. Build the day around conditional checkpoints
In an illustrative schedule, the first morning task could be accepting two elevations prepared the previous day. If one remains damp, place it on hold while reviewing the forecast and measurements for the other. If an increased possibility of afternoon rain creates uncertainty, reassess the topcoat completion and protection requirements. This is a hypothetical example of work sequencing, not a report of measurements from a real building or a forecast for today. Its purpose is to show where a decision belongs.
Starting permission should still include checks during the day. Moving to another zone, an unexpected change in cloud cover or a shift in wind can trigger a review. Record which coat was applied to which zone, its start and finish times and the relevant conditions. Identify who makes the decision to continue. The useful output is not a timetable that refuses to change, but a sequence that responds clearly when the conditions on which it was based are no longer present.
14. Reassess before restarting after an interruption
After a stop for rain, wind or unsuitable substrate temperature, restarting is not simply an extension of the previous permission. Recheck the surface, contamination, the effects of protection and the appearance of any applied coat. Verify storage and reuse requirements for material already in use. An open container or contaminated tool does not become acceptable merely because the weather improves. Identify the stage reached in each zone so that the next crew does not repeat a coat or skip an unfinished preparation step.
If the fresh film shows runs, staining or another change in appearance, establish the appropriate review and remedial route before recoating it. Photographs, zone identity and timing help technical assessment. The article on exterior paint, moisture, climate and substrate gives broader context. The restart check addresses a new condition created by the interruption; it is not a claim that an earlier substrate inspection was unnecessary or that every visible change has the same cause.
15. Hand over the weather decision with the work
At the end of the day, tell the next team more than the area completed. Identify coated zones, outstanding coats, repairs and areas affected by adverse conditions. Distinguish the time of the forecast from the last site check. An elevation accepted during the previous shift is not automatically ready the following morning. The new team should be able to establish both the stage from which it will continue and the checks that must be renewed before another application is authorized.
Include responsibility for removing protection, withdrawing access and inspecting appearance. This keeps coating requirements connected with site logistics. If a technical question remains unresolved, identify its affected zone and required answer rather than marking the task complete. Visible open questions do not conceal a delay; they show which work has finished and which remains on a controlled hold. That distinction supports a realistic programme and a clear handover, particularly when several elevations have reached different stages under different weather conditions.
16. Separate the end of application from final acceptance
The final roller pass does not end the acceptance process. Follow protection, recoating and appearance assessment requirements for the selected product. Areas completed on different days need to be compared in an appropriate state; a newly applied section and an older dry section should not immediately be treated as equivalent samples for a definitive colour decision. The record should show when each zone was completed, which conditions followed and when the agreed assessment is due, particularly where access will be removed soon afterwards.
The quotation and handover information should also explain how weather delays, renewed access and local rectification are handled. If another system from the product range is proposed, do not assume that its role is simply to accelerate the programme. Reconfirm substrate suitability and system requirements. A sound weather-window plan avoids overstating application speed. It provides a practical route for completing the right operation under suitable conditions and leaving enough evidence to explain the decisions afterwards.
Sources and scope
- Nanomix archived catalogue: silicone and textured exterior paints; archived application context.
- Nanomix archived catalogue: acrylic exterior paint and exterior filler; product scope to verify against current information.
- Turkish State Meteorological Service: hourly forecast; location and time must be checked for each decision.
- Sherwin-Williams: exterior product application questions; daytime and night conditions during early film formation.
- Benjamin Moore: exterior temperature guidance; air and surface temperature distinction. Other manufacturers' numerical product limits are not transferred to Nanomix products.