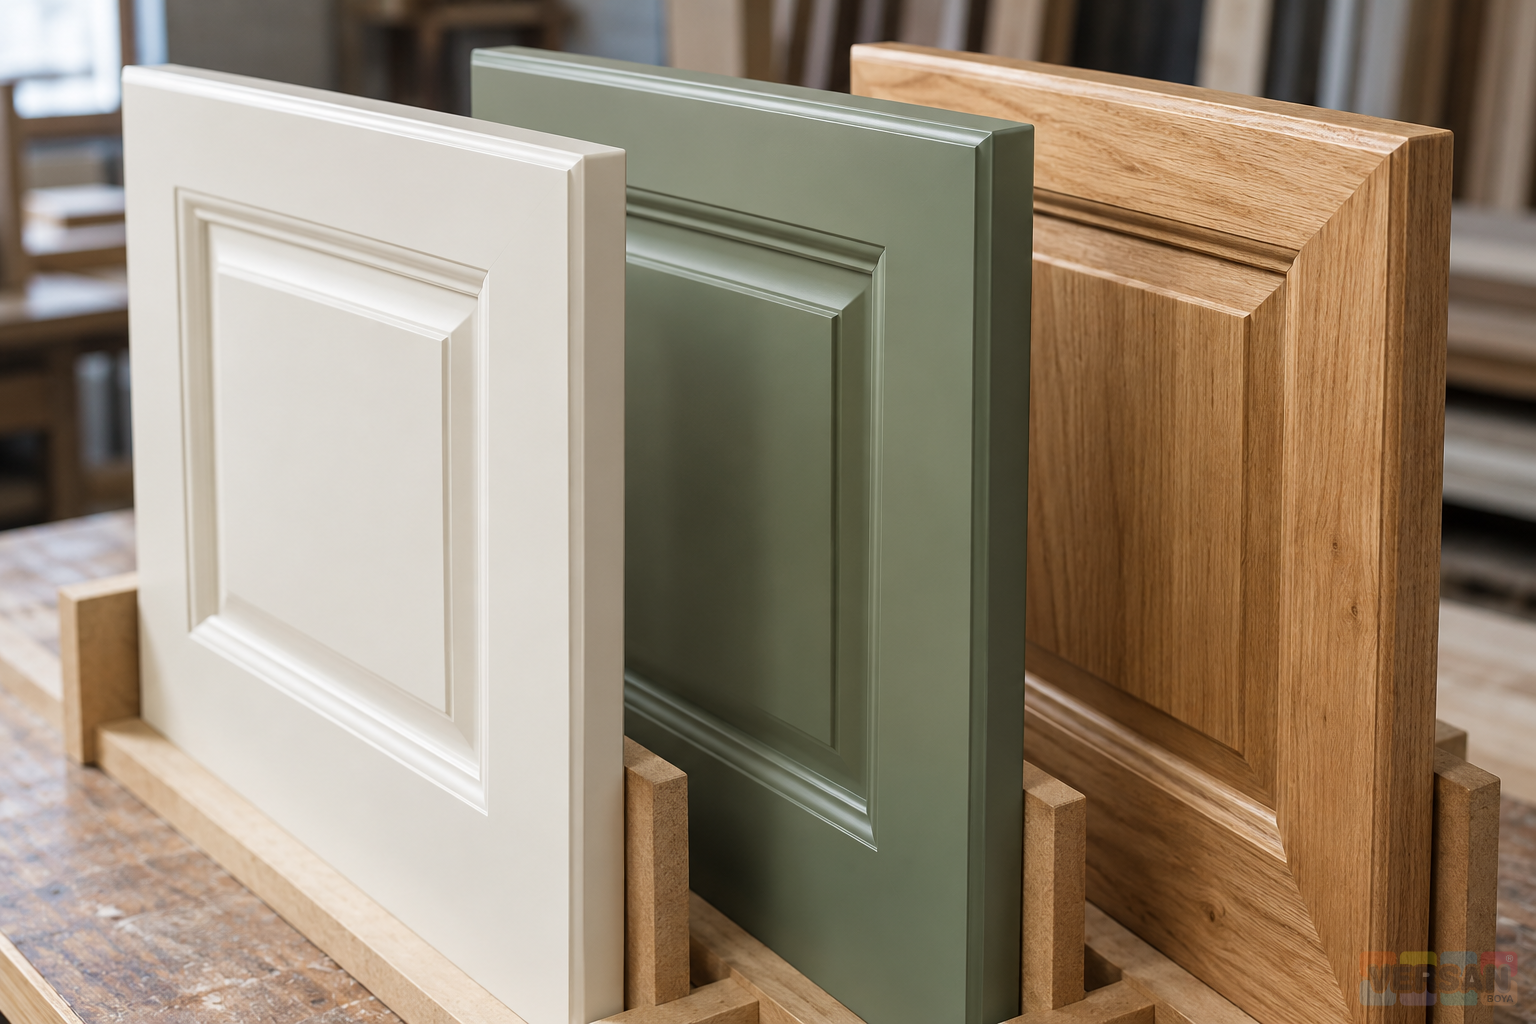
A cabinet door can have an even face and still show a different texture along an edge, a build-up in a routed profile or an unexpected line at a corner joint. A meaningful furniture finishing inspection therefore considers more than the broad surface seen from the front. The face, perimeter, moulding, fixing positions and joints are different observation areas within one component. Each needs a clear relationship to preparation, coating and acceptance. The useful question is not simply whether the door looks good, but what has been checked and what evidence supports the decision.
This guide connects the furniture coatings range with practical component inspection. It does not prescribe one sanding grade, coating quantity or mixing recipe for every board and finish. Those decisions depend on the actual substrate and selected product information. Instead, it describes an inspection framework that a production or quality team can adapt to an approved system. The examples are hypothetical. They do not describe a customer installation, a factory visit or a measured trial carried out by Versan.
1. Identify the component before discussing the finish
An order showing only a colour and a quantity leaves several important questions unanswered. Record the substrate, board or timber identity, veneer arrangement, profile shape, edge construction and assembly method. Two doors in the same colour may require different preparation if one is a plain MDF panel and the other is a veneered frame. Making the distinction visible at the beginning helps avoid attributing every later appearance difference to the paint batch. The drawing revision and component identification should accompany the sample and production record.
The furniture surface finishing solution also needs to be discussed in relation to use. A frequently handled kitchen door edge and the concealed reverse edge of a decorative panel present different inspection contexts. That observation does not establish a performance class or prove a particular product is suitable. The required use, cleaning and appearance conditions must be communicated during system selection. Record which combination was reviewed against those expectations, and reconsider the decision if the construction or order changes.
2. Treat the face and edge as distinct inspection areas
The European Panel Federation explains that MDF edges can be more absorbent than the faces, which can affect finishing appearance. This supports assessing the edge separately; it does not establish a universal extra coating allowance for every board. Material guidance, machining quality and the chosen finishing system need to be considered together. Trying to correct an uncertain edge condition merely by applying more coating introduces another variable before the original cause is understood. Check the prepared edge and system suitability before changing the application.
The existing MDF primer, sanding and edge preparation guide provides a related starting point. Detail inspection then follows the transition after preparation: how will the face and edge be compared on the same component, how will the bottom of a profile be observed, and what must be reassessed after a correction? This converts general preparation information into a traceable decision on an actual part. A region that was never inspected should not later be described as approved simply because the whole door received a release mark.
3. Establish a shared map of the door
A simple inspection map can identify the front, reverse, four perimeter edges, profile recesses, external corners and joints. It need not become a complicated report for every part. Its first purpose is to make sure everyone uses the same location names. For example, the viewing direction that defines the upper left corner must be clear. Identification can be recorded on the drawing or through a method that does not damage the finish. This makes it easier to connect a photograph, an observation and the physical component correctly.
The map does not imply that every region should look identical. A designed joint line, natural material feature or intentional transition must be distinguished from an unintended opening or build-up. A request to hide an intentionally visible joint needs design review before a coating adjustment is made. Likewise, an edge previously considered concealed may become visible after a construction change. Recording those decisions against a drawing revision is more useful than relying on a verbal understanding that may be lost between sampling, production and delivery.
4. Connect primer inspection with its intended role
When assessing a polyurethane primer, visible coverage alone is not a complete acceptance criterion. Consider the substrate, previous operation, applicable recoating information and the intended topcoat. Record the product identity, components and operation time. If an edge difference can be traced to its appearance before priming, after intermediate sanding or only after finishing, the next investigation can be more focused. Without an observation stage, different teams may propose different corrections for what they believe is the same problem.
A nitrocellulose primer belongs to a different product family and is not automatically an alternative just because its name describes a similar task. A system change requires its own technical review and representative sample. Do not approve a combination of product families from a general online recipe. The record should show which materials were considered together. A sample with an attractive appearance but uncertain material identity cannot replace a traceable system approval, because the same result may be impossible to reproduce or investigate later.
5. Use a sample that represents the actual geometry
A colour card is useful for colour discussion, but it does not reproduce a framed joint, a routed profile or a regularly handled door edge. Where practicable, include the relevant production geometry in the sample set. Record the material, machining and preparation operations used to make it. Reviewing a flat panel alongside a representative door detail separates the colour reference from the geometry reference. State explicitly that the two samples answer different questions. This avoids allowing an approval of one feature to imply approval of a feature that was absent.
The furniture colour, texture and gloss sample approval guide helps define the wider approval scope. A detail sample adds a further question: what appearance relationship is expected between the face, edge and joint? If numerical tolerances are needed, agree them with the relevant measurement method. This article does not supply a universal colour or gloss difference limit. The reference sample itself, its revision and its storage conditions also need to remain identifiable throughout the job.
6. Match the observation method to the specified finish
With a gloss topcoat, a reflection across the face may not reveal a recessed profile from the same viewing position. Choosing a semi-matt topcoat does not make build-up, scratches or an unexpected joint difference automatically acceptable. Specify the intended finish together with the reference and observation conditions. Even a change between gloss options within a product family can require reconsidering how the appearance sample will be assessed and what relationship the different regions should have.
The same discipline applies to a matt topcoat. The objective is not to keep turning the door under arbitrary lighting until a difference can be found. It is to establish a repeatable assessment appropriate to the product, design and intended use. If the delivery inspection uses conditions different from those used during production, record the distinction. Otherwise, a door accepted in one place and rejected in another may produce a disagreement about unspecified observation conditions rather than a useful technical investigation.
7. Investigate a joint line before naming its cause
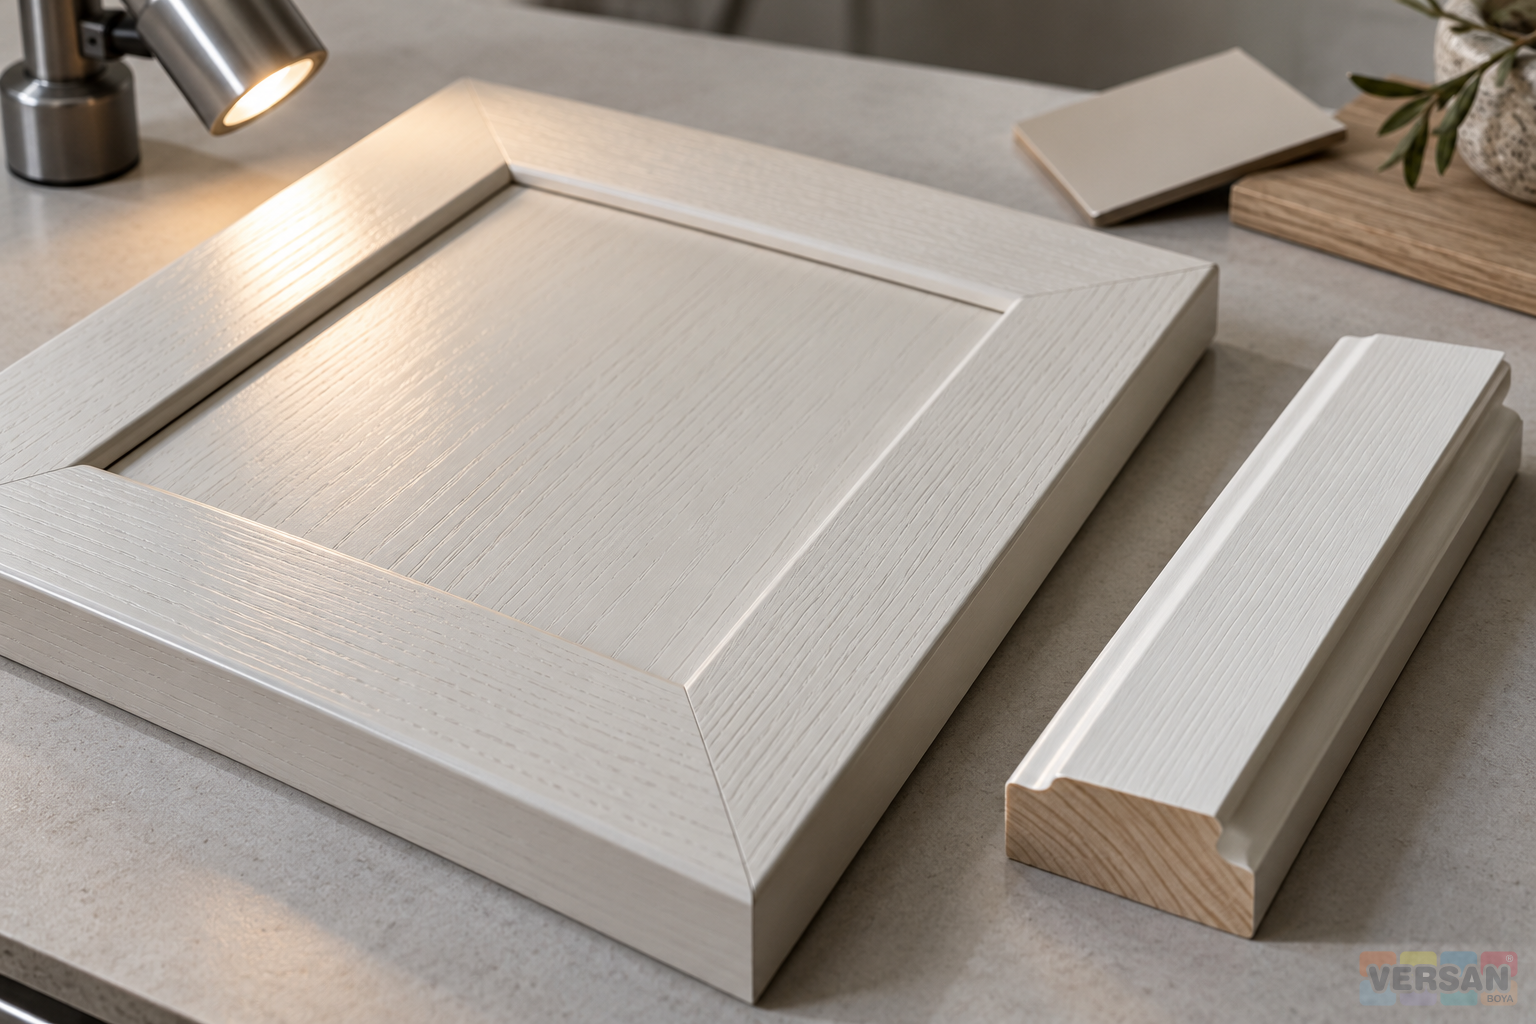
The appearance of a line at a frame corner does not, by itself, establish why it is present. Consider whether it existed before coating, whether it recurs at the same position and how it relates to the assembly and material arrangement. Record an unexpected interruption in a region intended to have a continuous coating separately from the surrounding face. Equally, filling a moving or intentionally open detail without review can create another problem. A paint layer should not be treated as a solution for every construction or assembly issue.
Imagine two hypothetical doors showing a similar corner line. A preparation photograph shows the line on the first door, while the second door has no comparable observation until final inspection. These records should not be forced into the same conclusion. The first points towards reviewing the preparation and assembly transition; the second requires a wider examination of the operations between observations. The example does not diagnose either door. It illustrates why similar appearances do not prove a shared root cause and why a useful record narrows the investigation.
8. Retain the identity of hardeners and thinners
Record auxiliaries such as the polyurethane hardener and polyurethane thinner together with the main product and the current information that governs their use. The links do not imply that hardeners or thinners are interchangeable. Mixing and application values must come from the applicable information for the actual system. A value in an archived catalogue is not automatically transferable to another product, colour or application arrangement. Resolve uncertainty before production rather than treating an undocumented adjustment as an approved recipe.
Change control is as important as the initial identity record. If a component batch, application arrangement or preparation sequence changes during the day, establish how that change relates to the earlier sample. The team should be able to identify the first affected door. This can help define the investigation range instead of placing every component under the same uncertainty. The purpose is not to record every movement in the workshop. It is to retain enough information about acceptance-relevant variables to reconstruct the conditions when a question arises.
9. Distinguish clear and opaque appearance references
For a finish intended to reveal timber, the review of a polyurethane varnish cannot be reduced to the same appearance questions as an opaque colour. How should the grain, veneer junction and natural variation be represented in the sample? Which visible feature belongs to the material, and which difference results from processing? Establishing the distinction early avoids later treating an intentionally visible feature as a defect. Photographs and written descriptions support the physical sample, but they should not be assumed to reproduce its appearance under every viewing condition.
A silk-matt varnish also needs more than a finish label in the order. A change of substrate, preparation or application conditions may require the appearance expectation to be reviewed. Where opaque and clear-finished doors are supplied within the same collection, separate references may be appropriate. Separate references do not themselves establish technical compatibility between the products. The appearance objective and system suitability remain different questions, both of which need an identified basis for approval before the order is released.
10. Observe the process before the whole series is finished
A first-component inspection may reveal an important detail before an entire series is completed. However, accepting the first component does not approve all subsequent parts without conditions. Decide which changes call for another check and who is responsible for that decision. Material changes, a significant adjustment or an interruption may be relevant triggers, depending on the job. Agree the inspection frequency for the actual work rather than transferring a fixed universal interval from this guide. The record should distinguish a planned check from one requested because an unusual condition was observed.
If the face is acceptable but the edge appearance is not, identify the two observations separately. A general note that a door is poor does not explain the location or purpose of a correction. Record the position, difference from the reference and resulting decision. A product description for another application is not evidence that this component meets its acceptance conditions. After a local adjustment, also inspect neighbouring areas that might have been affected. A correction that addresses one observation can change the relationship between regions even when its application area is small.
11. Separate coating completion from handling and assembly release
A door can be exposed to different conditions after coating, during stacking, packaging and installation. Coating complete, ready for handling and ready for assembly should therefore describe distinct decisions. Apply the selected product's actual waiting and use conditions. Plan edge contacts and support positions as well as protection of the main face. A handover record identifying the component, condition and receiving operation provides a clearer starting point for any later investigation. It also helps explain whether a difference was present at release or appeared after another process stage.
The wider furniture varnish surface acceptance guide discusses final checks. For door details, additionally consider whether an approved edge will be concealed by hardware or whether assembly creates a newly visible region. If a question appears after installation, review preparation and pre-dispatch evidence together. A photograph showing a difference is useful only when its component identity, time and viewing conditions can be established. Without those connections, a visual record can create as much uncertainty as it resolves.
12. Define the correction and the scope of renewed acceptance
Do not describe a local appearance correction only as touching up. Identify the area, proposed materials, relationship with the existing coating and regions to inspect afterwards. The inspection boundary need not be identical to the application boundary because an edge correction may affect an adjacent face. The previous approval does not automatically return when the correction has been applied. Reassess the relevant areas in the agreed conditions. If information is missing, retain an explicit open decision rather than recording an unsupported successful release.
A useful handover connects component identity, the geometry map, product information, representative samples, intermediate observations, changes and final decisions. This makes the acceptance of faces, edges and joints less dependent on individual memory. The intention is not to turn every workshop into a measurement laboratory. It is to retain a practical explanation of what was approved and why. Keep the arrangement proportionate to the order, while distinguishing accepted regions, agreed corrections and items awaiting technical confirmation. The clarity of that distinction is more valuable than a complete-looking form that conceals an uninspected detail.
Sources and limitations
- Nanomix archived catalogue: polyurethane gloss topcoat; product-family context, not a universal current application recipe.
- Nanomix archived catalogue: semi-matt system; current product confirmation is needed for use.
- European Panel Federation: MDF lacquer finishes; the distinction between face and edge absorption. The inspection map and hypothetical decision examples are editorial planning suggestions.