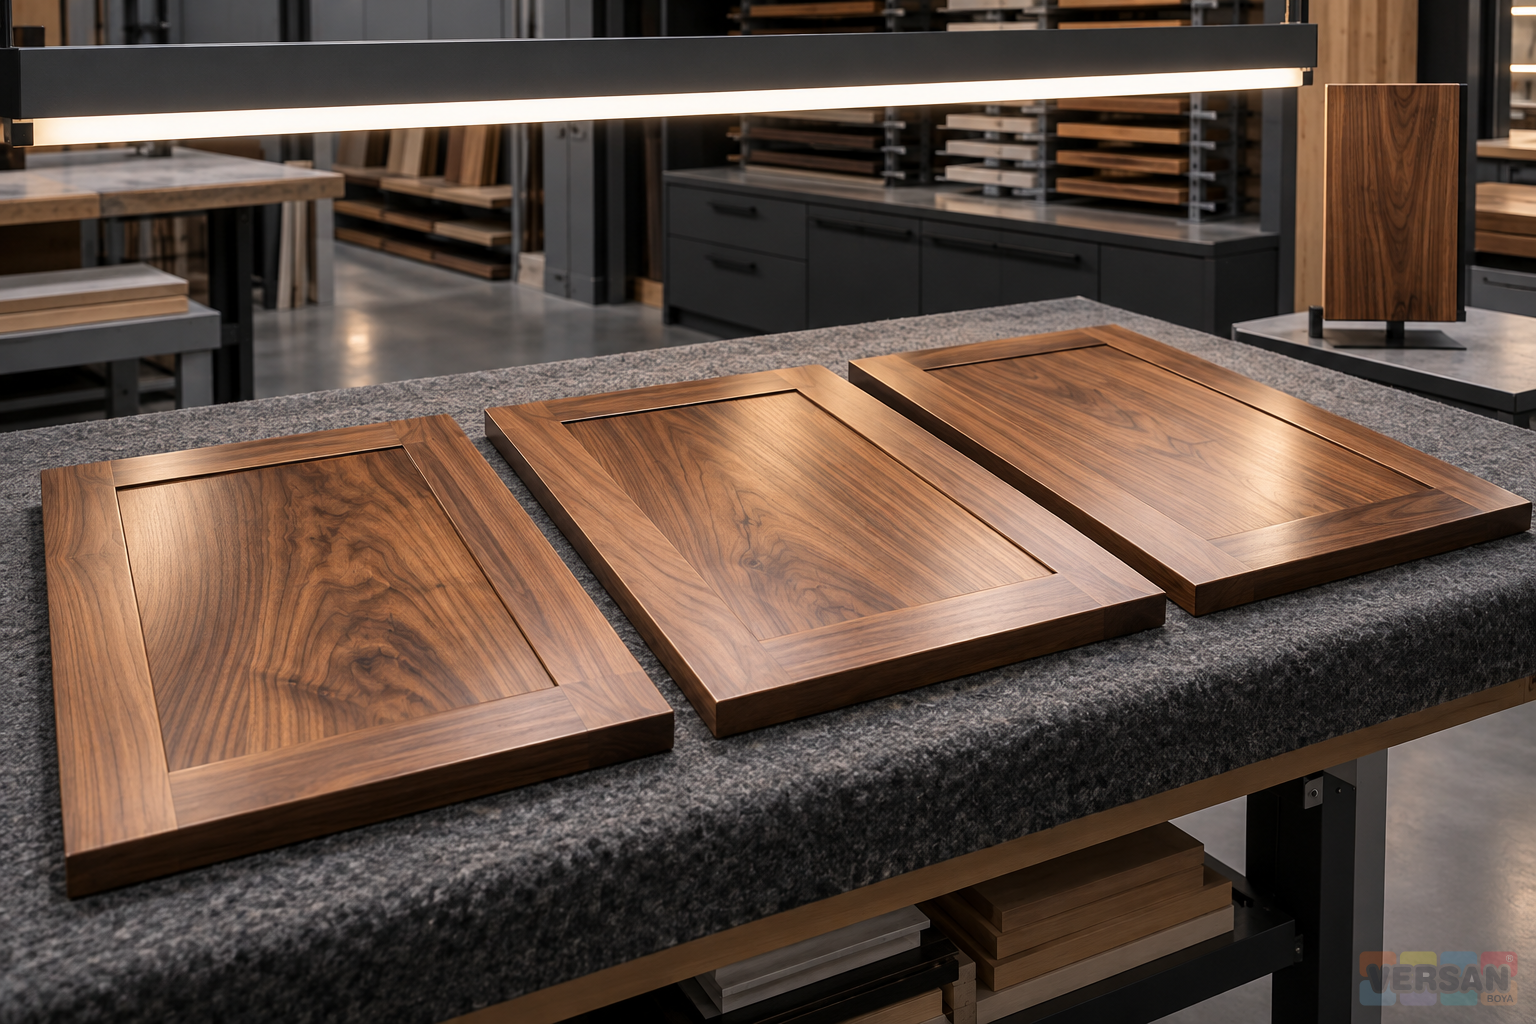
Final inspection of furniture varnish involves more than looking at a finished component and deciding whether its gloss is attractive. The purpose is to establish how the actual piece compares with the appearance agreed for the project. Reference samples, lighting, inspection sequence and decision authority all need to be defined. The same door can look different under another light, while natural timber variation may be mistaken for a coating defect. A sound acceptance process reduces these uncertainties through consistent observations and records.
For a project using furniture varnish, this guide describes a practical way to organise the final inspection station. It does not set a universal drying period, gloss tolerance or permissible defect size. Those requirements belong to the current product documentation, project specification and approved sample. The recommendations here concern describing an observation, linking it to the correct component and recording a clear acceptance, hold or rework decision. Visual inspection does not replace separately specified performance testing.
1. Define the accepted appearance before production begins
The first inspection question should be “Which approved appearance are we comparing this with?” rather than “Does this look good?” Words such as matt, silk matt and gloss can mean different things to different people unless they are connected to a reference. Identify the sample's timber species, solid or veneered construction, colouring process and varnish system. A photograph with unknown lighting and camera conditions cannot capture every property of a physical sample. It may support the record without becoming the sole production standard.
The guide to matt, silk-matt and gloss furniture varnish provides a starting point for discussing appearance. Final inspection requires a concrete interpretation of that choice: which faces are visible, how components will be assembled and what natural variation is accepted. If approval covers only the front face, agree the requirements for the reverse separately. Inspectors should not be expected to invent an unstated customer expectation at the end of the production process.
2. Protect the reference sample and its identity
The approved sample needs a project reference, sample identifier, approval date, coating-system description and approval scope. Protect it from damage, contamination and accidental additional processing. A scratched or altered sample is not a reliable basis for judging new work. Check the reference itself before beginning an inspection session. If its condition is doubtful, the project owner should record how a replacement or revised reference will be established. An operator should not silently select another piece because it appears more convenient.
Where several production locations contribute to one project, make the relationship between their references clear. A door manufacturer and an installation team may be using samples from different revisions. Unidentified revisions create avoidable disagreement at delivery. When requesting technical advice on wood and furniture coatings, explain the substrate and layer system represented by the sample. Saying that the same varnish was used does not demonstrate that the timber, colouring and preparation were also equivalent.
3. Open the correct product and production file
The inspection file should identify the exact product, batch, application date, substrate and layer system. A matt polyurethane varnish and a gloss polyurethane varnish should not be judged against an undefined common appearance. Both the product family and the selected finish matter. Read the preparation and application records instead of attempting to identify the product from its appearance alone. Uncertain product identity limits any later explanation of the observed surface.
The Nanomix archived varnish page describes different varnish types and preparation information, but some Turkish and English numerical statements conflict. Those proportions and times are therefore not reproduced here as current application instructions. Establish the relevant drying or waiting condition from the current documentation for the actual product. An archive is a useful starting reference, not permission to resolve ambiguous instructions by experimenting on the finished furniture.
4. Record the inspection stage and the condition of the component
A newly coated surface and a component approved for dispatch are not necessarily at the same production stage. Record when the final coat was applied and at what stage the inspection takes place. A surface that appears touch-ready has not automatically been shown to be ready for stacking, packing or service. Those decisions depend on the product and process instructions. Avoid pressure, wiping or other contact tests on the actual piece unless the method is appropriate and will not itself mark the surface.
Record relevant differences in holding conditions as well. One component may have been processed at a different time or kept in a different location from the rest. Its result should not be interpreted without that context. A piece that has not reached the appropriate inspection stage can be placed on a documented hold with a reason and a defined reassessment step. This differs from leaving it indefinitely to one side: a controlled hold has an owner and a clear next action.
5. Make lighting and viewing conditions repeatable
Inspection lighting should allow the whole relevant surface to be seen without leaving one section obscured and another overwhelmed by reflection. A general view can be followed by an appropriate directional light for examining surface structure. Agree the sequence and component position within the team. If every operator places the lamp at a different distance and orientation, findings become harder to compare. The aim is not to force an identical appearance under every possible light, but to make the assessment conditions describable and repeatable.
BYK's wood-coating colour and gloss publication discusses the importance of natural pattern and measurement direction. Its numerical examples are not adopted here as general acceptance limits. A door finished with silk-matt polyurethane varnish should be compared with its reference in a consistent orientation and assessment arrangement. Recording how an observation changes with lighting can be more informative than assigning a defect name immediately.
6. Distinguish natural timber variation from a coating defect
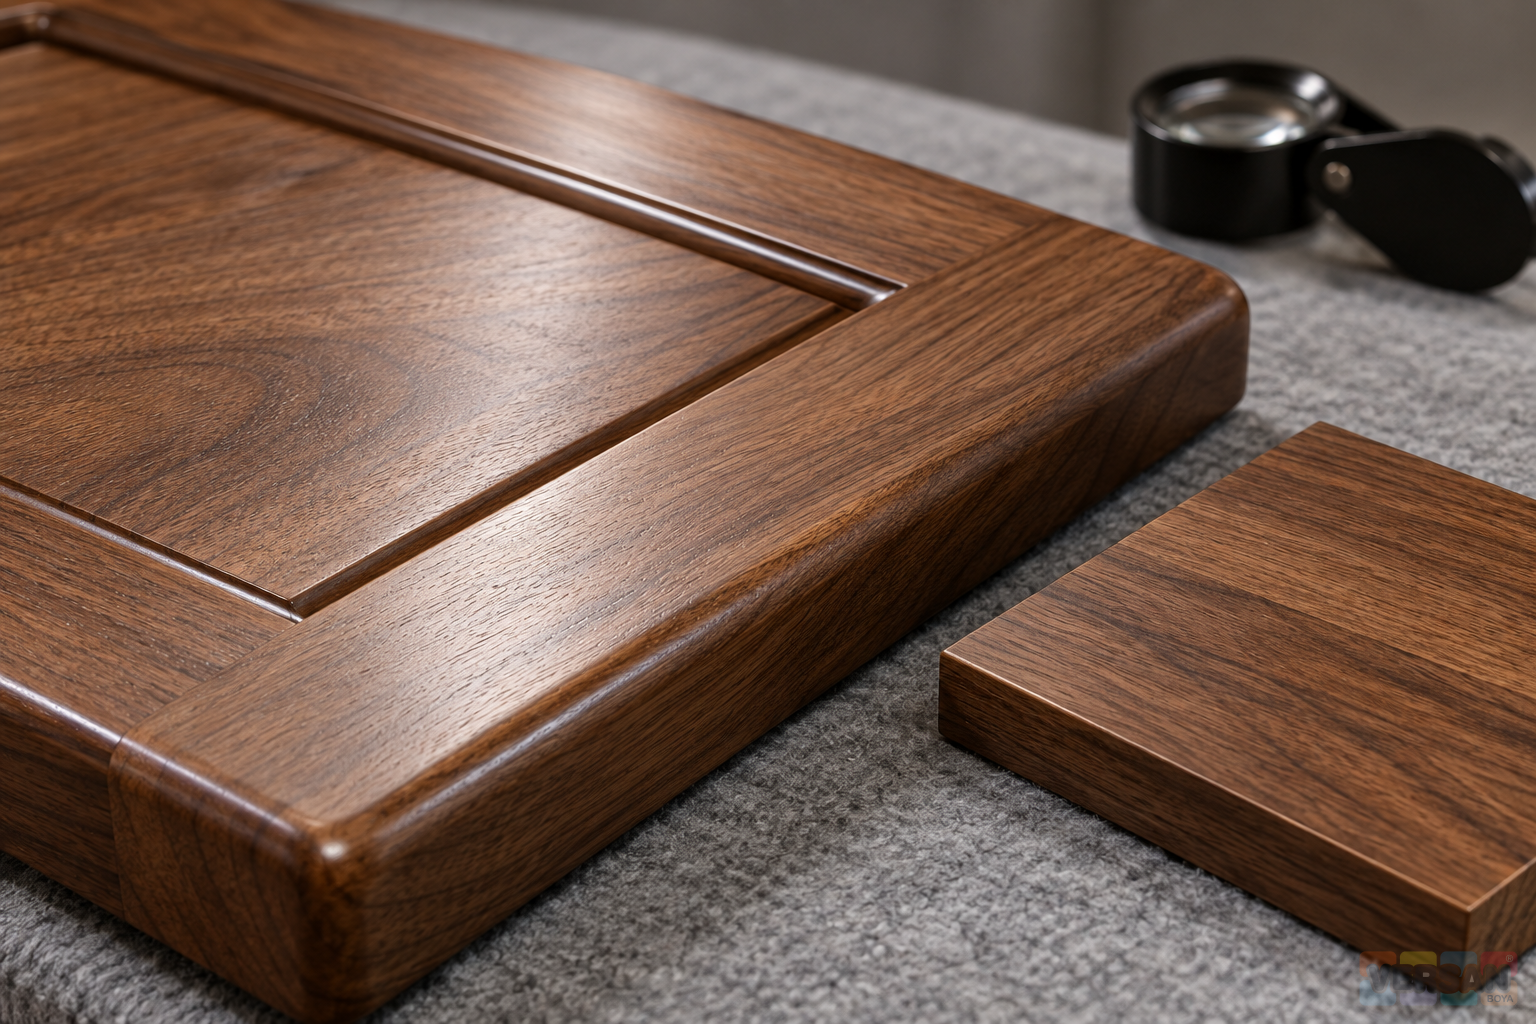
Grain direction, tone and pattern can vary across solid timber and veneered components. Inspection should not classify every natural difference as a varnish fault. Include the approved timber selection and matching plan in the assessment. This is one reason to examine adjacent furniture fronts together. Components that seem acceptable individually can create a different overall appearance when their assembly order changes. The source of that difference may lie in component selection before coating rather than in the finishing material itself.
A darker area beneath a clear finish does not, by itself, prove excessive varnish thickness. Substrate, colouring, grain and lighting need to be considered before a cause is assigned. The inspector records the location and comparison conditions; the technical reviewer uses the production information to investigate further. With a transparent finish such as gloss acrylic varnish, the visible substrate remains part of the evaluation. The product name is not a promise that every piece of natural timber will have an identical colour.
7. Follow a consistent sequence from face to edge
A repeatable sequence helps prevent areas from being missed. Start with the overall front face, then inspect corners, edges, profile transitions and any reverse surfaces included in the specification. Mark the inspected regions in the record. Looking only at the centre of a large panel can leave edge or connection details unchecked. If the piece must be turned, use clean, suitable supports. Damage introduced during inspection should not later be attributed to the original finishing process.
A difference between the face and an edge may have several explanations. Review application direction, geometry, substrate and preparation records together. A flat sample finished with matt acrylic varnish may not represent every part of an intricate profile. Projects with several geometries benefit from a representative sample or an explicit description of those areas. An inspection plan that reflects the actual furniture is easier for production staff to interpret than one based only on a small flat coupon.
8. Describe the observation before declaring its cause
Observations such as a raised speck, scratch, depression, run, waviness or local loss of gloss should be recorded with their position and extent. “Poor surface” is not sufficient for a later recheck. Note the light in which the finding is visible, whether it can be seen from the intended use direction and whether similar findings occur on other pieces. These are starting observations, not conclusive evidence of a chemical or application fault. Similar-looking effects may have different origins.
BYK's discussion of appearance and orange peel distinguishes gloss from image clarity and surface waviness. A gloss reading alone may therefore leave other appearance properties unassessed. This general distinction does not establish a furniture-specific tolerance. The inspection report should say which property supported the decision, as well as naming the observation. Do not imply that an unmeasured property was checked simply because another instrument reading was available.
9. Define the measurement method when using instruments
A colour or gloss number without measurement conditions is incomplete. Record the instrument, method, relevant verification or calibration status, measurement locations and component orientation. Do not compare readings from dissimilar geometries as if all were obtained on the same flat reference. A number becomes an acceptance or rejection criterion only when an agreed limit exists. Changing that limit during inspection to accommodate the piece being examined undermines the consistency of the decision.
A team inspecting a sample finished with silk-matt acrylic varnish can review instrument results alongside the visual comparison. If the methods appear to disagree, investigate what each is actually assessing. One should not automatically invalidate the other. A workshop without instruments can still establish consistent lighting, reference samples and written observations. It should describe the assessment as visual, however, rather than report a numerical measurement that was never performed. Stating the method's limits is part of a professional record.
10. Link photographs to the component and the finding
A close-up alone may not show where a finding sits on the component. An overall image, a view locating the affected region and a detailed image can be used together. Match photograph numbers to the component identifier. If a scale or marker is used, it should not damage the surface or obscure the finding. Explain any imaging condition that changes the apparent appearance. A digital image should not become a definitive physical acceptance reference merely because it is easy to circulate.
For technical support, these photographs can accompany the product identification, layer-system description and application times. Avoid including unnecessary personal or confidential project information in the frame. The purpose is to explain the surface observation. Do not mix photographs of a nitrocellulose varnish finish with another coating system without clear identification. Remote initial assessment becomes more useful when every image can be traced to the right product, component and inspection stage.
11. Separate acceptance, hold and rework decisions
A form with only pass and fail options may not describe every practical situation. Accepted components, pieces awaiting information, items due for reassessment and parts set aside for rework can have distinct statuses. Define their physical identification and the person authorised to change the status. In particular, a piece awaiting a decision should not accidentally enter dispatch. This is a suggested workflow structure to adapt to the business, not a claim that a universal quality standard prescribes these exact categories.
Whether a finding is acceptable depends on its position, visibility in use and the project agreement. No universal scratch length or defect count can be inferred for all furniture. If limits have not been agreed, inspectors should not invent them under delivery pressure. The responsible person must complete the necessary customer or technical review. A special acceptance should identify the exact pieces and findings covered, rather than become an unclear permission extending to all subsequent production.
12. Treat rework as another inspection cycle
After a correction, disappearance of the original finding is not the only consideration. Reassess colour, gloss, texture and continuity with adjacent areas. The correction method needs to be appropriate for the coating system and supported by the relevant technical instructions. This article does not prescribe one sanding or polishing method for every varnish. The inspector's task is to record the finding; responsibility for choosing the correction should be defined separately. Any trial correction needs an agreed scope and evaluation condition.
The guide to refinishing and existing-coating compatibility explains why identifying the old surface matters. Keep the process history for local corrections in new production as well. Link the re-inspected component to its first inspection record instead of silently deleting the earlier observation. Repeated findings can then be reviewed against the stages at which they occurred. Record acceptance after rework using the actual reassessment date and observation.
13. Inspect the appearance of the set as well as individual pieces
Doors, drawer fronts and side panels may appear acceptable separately yet create a different impression when placed together. Where assembly positions are known, compare the components in an arrangement that represents those positions. Grain direction, pattern matching and visible neighbours should be described in the file. If the pieces are subsequently rearranged, the earlier set inspection may no longer represent the delivered arrangement. The record can therefore include the layout as well as the component numbers.
For projects using a polyurethane varnish system, the guide to sealer and topcoat compatibility provides related context. Final inspection should not attempt to prove hidden production steps from appearance alone. When a difference is seen within the set, determine which application record belongs to each component. That traceability supports investigation and helps distinguish different issues that produce similar visible results.
14. Verify the final condition before dispatch
After acceptance, a component may have been moved, stored or packed. Reassess possible new damage within the agreed dispatch-check scope. An accepted piece rubbing against an unsuitable surface can change the condition delivered to the customer even though the earlier inspection record remains accurate. Packing and stacking arrangements should suit both the furniture and the finish. Use current product information and the verified production process instead of quoting a generic waiting time for every coating.
At closure, retain the reference identification, component list, inspection conditions, findings, corrections and final disposition together. Where different products, including decorative wood varnish, appear in one project, keep the system boundaries explicit. The record is not an unrealistic guarantee that no defect can ever occur. It explains what was inspected and what was accepted. Professional final inspection replaces an unexplained personal judgement with a repeatable decision whose evidence and responsibility can be understood by the next person.
- Versan Boya: Nanomix archived technical catalogue, page 38. Product-family reference; conflicting numerical information has not been used as an application recipe.
- BYK Instruments: Wood Coatings – Keep the natural look; Appearance of a Class A Surface. General appearance references, not project acceptance tolerances.