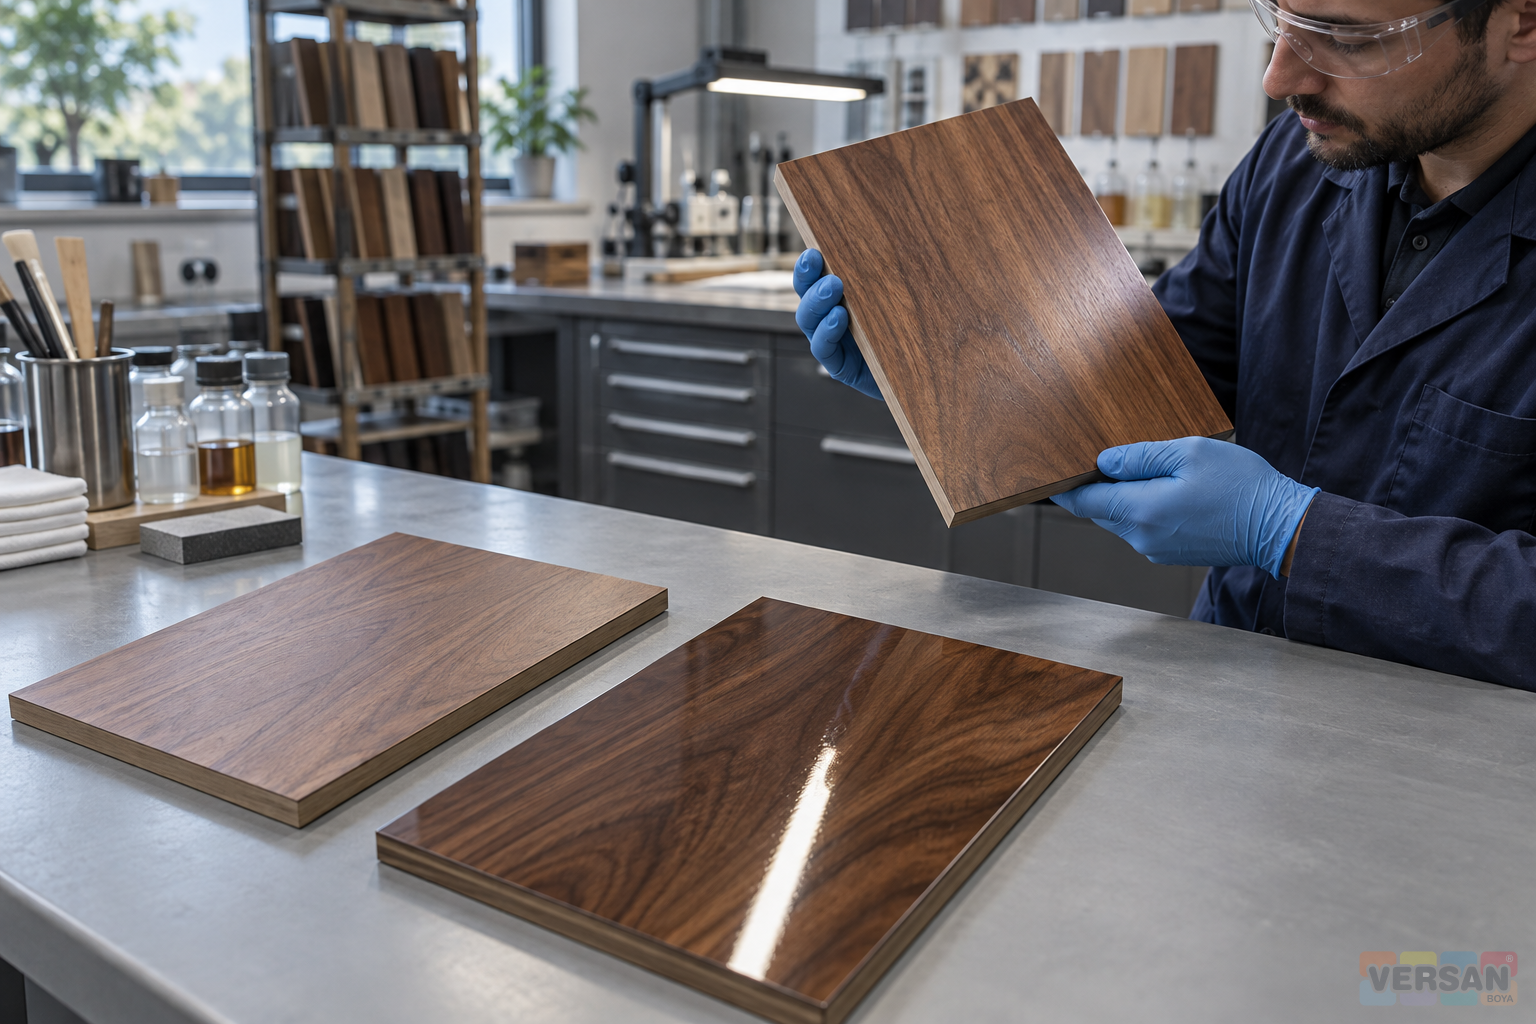
A successful clear wood finish is more than a glossy top surface. The grain should remain readable, reflections should behave consistently, and the pore structure should match the intended design. These qualities emerge from the complete coating build, beginning with the timber and its preparation. A minor inconsistency in the sanding sealer can become conspicuous beneath the clear finish. Choosing a polyurethane varnish therefore means specifying the preparation, sealer, intercoat work and topcoat together, rather than evaluating a single container in isolation.
This guide proposes a practical control process for new furniture components. It does not prescribe a universal coating recipe. Timber species, veneer construction, component geometry and the desired appearance can change within one production line. Use the manufacturer's approved product combination, the current technical instructions and a representative production trial. The following recommendations help organise decisions and records; they do not replace product-specific mixing instructions, application limits or safety data. Existing furniture with an unknown coating history requires a separate compatibility assessment.
1. Define what the sealer and topcoat must achieve
Workshop terminology can conceal important differences. A sanding sealer used to establish a workable clear coating foundation is not automatically a repair filler for a depression or damaged edge. Nor can a clear topcoat hide every inconsistency underneath it. Specify each material by its product name and code, its intended substrate and its position in the coating sequence. If different finishing systems share one preparation area, an informal instruction such as apply the usual filler leaves too much room for interpretation.
Start by describing the intended pore appearance. An open-pore finish and a more closed, level surface can both be deliberate design choices. Neither should automatically be treated as the superior result. When reviewing the wood and furniture coating range, communicate this objective to the technical team. Sealer preparation, topcoat appearance and the practical production cycle should be evaluated together. Preserve a physical sample alongside its written description, so that terms such as natural, deep or smooth refer to an agreed object rather than different personal expectations.
2. Record the timber before discussing the coating
Two components can look different even when the same varnish has been applied. Solid timber, thin veneer and a previously processed panel do not provide identical starting surfaces. Grain direction, natural colour variation, edge construction and earlier sanding all belong in the assessment. Record the timber identification, veneer information, condition on receipt and the material batch represented by the trial. Do not invent a general timber moisture acceptance value; relate the requirement to the production specification and the chosen system.
A convenient spare board may fail to represent the actual job. Include the edge band, profile or joint that makes the production component difficult. When considering furniture varnish solutions, inspect more than the broad central face. A drawer edge and a flat tabletop can present different access and handling conditions. Mark these areas before the trial and decide which surfaces will be assessed together. This makes subsequent differences easier to trace to material, preparation or application without prematurely blaming the final coat.
3. Confirm the exact product combination
The word polyurethane on two labels is not proof that the materials form an approved coating system. The sealer, topcoat, hardener and thinner must be identified and their intended combination confirmed. Approval belongs to specific products, not merely to a broad resin family. Older catalogues can help establish product context, but current application instructions should control production. If language versions or document revisions disagree, obtain clarification instead of allowing the operator to choose whichever instruction seems familiar.
The accepted catalogue archive describes prepared, sanded polyurethane sealer beneath polyurethane gloss varnish. That supports treating the underlying preparation as part of the system. It does not approve an arbitrary sealer from another range. Numerical mixing instructions are deliberately not reproduced here. Maintaining one controlled product-combination document also helps purchasing: a proposed replacement should be checked against the approved build before a price comparison becomes an application decision.
4. Inspect intercoat sanding beyond its feel
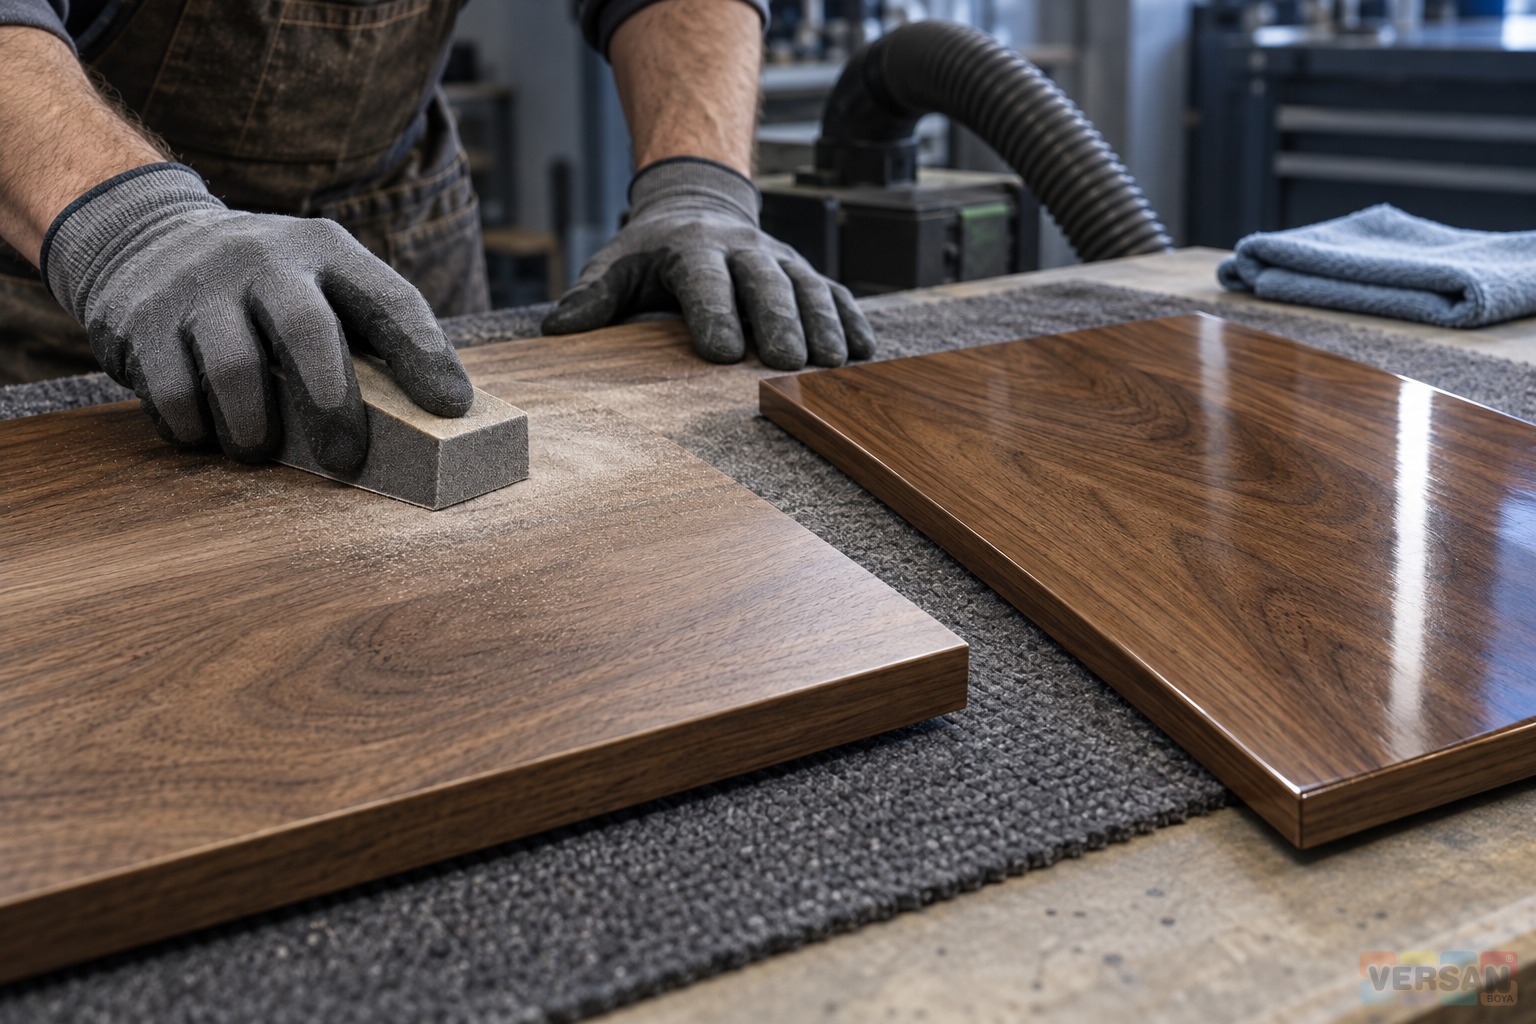
A surface that feels smooth can still contain directional scratches, local breakthrough or areas that have received uneven attention. Intercoat sanding should produce the condition required by the product instructions. The abrasive, tool, working method and inspection approach should be understandable from the job record. There is no single abrasive grade prescribed for every sealer in this guide. Confirm the choice with the relevant instructions and trial. Thin veneer requires particular care because excessive removal can alter the visible substrate.
Inspect with the light and viewing direction changed, rather than relying on one favourable angle. Identify edges and profiles where the coating has been cut through, and resolve the preparation before applying the finish. The separate guide to refinishing over existing furniture coatings explains why an unknown underlying finish needs its own assessment. The controls described here concern a documented new coating build; they should not be mistaken for an automatic repair procedure for previously coated furniture.
5. Treat cleaning as a separate controlled step
Finishing the sanding operation does not by itself release a component for coating. Fine dust, debris around profiles and contamination from handling can remain. Define the cleaning method, cloth and any auxiliary material as part of the process. An available solvent is not automatically a suitable wiping agent for clear-finished wood. Separating equipment cleaning from component preparation, including the containers and cloths involved, helps prevent avoidable confusion between jobs.
The stated purpose of a cleaning thinner does not establish its suitability for wiping every varnished surface. Do not add that use unless it is confirmed. Also define where the cleaned component will wait, how it will be moved and where the final surface check occurs. If it becomes contaminated again, the earlier cleaning record cannot serve as release evidence. A short observation explaining why the surface was accepted provides more useful information than an unsigned tick, especially when a later defect must be investigated.
6. Record actual intercoat times and conditions
Record sealer application, the start of sanding and topcoat application separately. Prepared this morning is not a reliable handover instruction. Evaluate the waiting and recoating requirements in the current product documentation against the actual workshop conditions. Touch alone should not be the only basis for deciding that the underlying film is ready for another operation. When the schedule is compressed, the history of where and how a component waited is easily lost.
After an interruption, review more than elapsed time. Check storage conditions, surface protection and whether further preparation is required. A batch using silk matt polyurethane varnish may use the same record format as a gloss batch, while retaining its own product instructions. Do not copy a waiting value between systems merely to simplify paperwork. The purpose of the record is to establish the state of the surface receiving the next coat. Keep uncertain components separate until the relevant decision has been made.
7. Include mixing and thinner in the layer history
The hardener identity matters as much as the varnish identity. Record whether the specified ratio is by mass or volume, the measuring equipment used and the preparation time. A mass ratio cannot simply be transferred to a volume scale. Similarly named hardeners should not be treated as interchangeable without confirmation. Inspect the mixing container before preparing the new material; residues from an earlier job introduce a variable that can make the entire trial difficult to interpret.
Select the polyurethane thinner in accordance with the current varnish instructions. Thinner is not a remedy for an incorrect hardener ratio or an expired mixed-material working period. The article on two-component paint, hardener and thinner control develops the recording approach. List each component separately as well as the total prepared amount. This allows a mixture that appeared easy to apply to be checked later against the actual approved formulation and preparation sequence.
8. Avoid equating extra film with better appearance
When a surface appears uneven, another coat can seem an attractive shortcut. Adding material without identifying the source of the unevenness is not a controlled correction. Keep application quantity, pass sequence and component orientation consistent with the approved trial. Material accumulation near an edge should not be assessed as though it were the same as the central area. An impressive wet appearance is also not sufficient evidence of the final dry result. The product's required process must stand between initial observation and acceptance.
BYK's general discussion of levelling connects surface flow with the solvent mixture and drying conditions. It does not supply a solvent adjustment or additive recipe for a particular Nanomix product. A matt polyurethane varnish still requires an intentional and consistent surface. Low sheen should not become a reason to accept unexplained application defects. Compare the trial under normal viewing conditions and raking inspection light, recording where the appearance changes instead of summarising the entire component with one favourable photograph.
9. Separate depth, gloss and reflected-image clarity
Depth in a clear wood finish commonly describes the visual presence and readability of the grain. It is not, by itself, a numerical acceptance limit. Gloss, clarity of reflected images and texture are distinct aspects of appearance. The public description of ASTM D523 similarly distinguishes specular gloss from other visual characteristics. One gloss reading cannot establish that a complete component is defect-free or that every design expectation has been met. Agree the measurement approach and acceptance criteria before collecting values.
Introducing another family, such as acrylic varnish, into a comparison does not authorise applying it directly over the existing sealer. Confirm its own layer build and compare separate approved samples. The guide to furniture coating sample approval helps establish a shared physical reference and viewing conditions. This article addresses the sealer and topcoat relationship that produces that reference. Link the two records so that appearance approval remains connected to a known and repeatable application history.
10. Investigate one variable at a time
If the sealer, abrasive, thinner and topcoat are all changed in one trial, a favourable outcome provides little guidance about which change mattered. Establish the approved baseline first. Prepare a clearly identified comparison for the variable under investigation, and connect each panel identification to its process record. The reviewer needs to understand the comparison rather than simply select the most attractive board. A sample that cannot be reproduced under production conditions is an incomplete basis for approval.
A separate trial of acrylic gloss varnish should retain its own identity instead of being mixed into a polyurethane compatibility file. Compare samples at equivalent assessment stages under consistent lighting. If one has just been finished and another has stood considerably longer, document that difference. A useful results sheet separates appearance, surface condition, application observations and unresolved questions. Record who made the acceptance decision and when, so that a later revision clearly identifies which earlier decision it replaces.
11. Establish where a defect first appeared
When haze, pore outlines, visible scratches or irregular reflections appear, describe their location before assigning a cause. Is the observation distributed across the whole panel, restricted to an edge or aligned with the grain? Compare the condition after sealing with the condition after topcoating. A defect name is not a diagnosis. Review preparation records, the actual product combination and application conditions before replacing the topcoat. Where evidence is absent, record uncertainty rather than presenting a convenient assumption as a confirmed finding.
Experience from a previous nitrocellulose varnish job should not automatically determine a polyurethane repair procedure. Agree the repair scope with the appropriate technical support. A limited surface correction and reconstruction of the underlying coating build are different operations. Separate affected components, retain the sample and validate the proposed correction on a limited representative area. A treatment that temporarily makes a mark less visible does not prove that the complete layer structure has become suitable. Repeat the relevant acceptance checks after the agreed repair.
12. Transfer the approved sample into production
A small bench sample does not reproduce every production variable. Component size, vertical or horizontal orientation, handling time and access to profiles can differ substantially. Inspect representative first production pieces before assuming that the small trial has resolved those questions. Acceptance of the first component should not automatically release an entire shift. Define which checks must be repeated after a product-batch change, equipment adjustment or meaningful change in workshop conditions.
Where an order includes different finishes, such as silk matt acrylic varnish, make the component and system identities especially clear. Adjacent parts on a rack may look similar while carrying different layer histories. Packaging release also needs the relevant product and operating instructions, rather than a dry-to-touch judgement alone. Identify who checks the components, where pending work is held and who decides on a nonconformance. These practical assignments help preserve the agreed finish through handling and delivery, when undocumented shortcuts can otherwise enter the process.
13. Build a usable compatibility record
A practical file brings together substrate identity, approved products, current document revisions, preparation steps, application times and trial results. The information must relate to the same component, not simply be complete in isolation. Pair overview photographs with defect details and identify the assessment stage. Measurement records need a method and unit. Never mark an unperformed test as passed; record only the controls actually completed. This keeps the file useful when the team must explain a decision months after the original trial.
Before a technical discussion, connect the relevant options in the product range with the containers and documents used for the job. The aim is not to list as many materials as possible, but to explain why this sealer and this topcoat were selected together. Purchasing, application and quality staff can then evaluate substitutions against the same evidence. A convincing clear finish rests on reproducible preparation and a verified layer relationship, as well as its immediate visual impact. Those linked decisions make depth and smoothness manageable production objectives.
14. Technical sources and limits
- Accepted Nanomix catalogue archive: polyurethane gloss and silk matt varnishes. Product context and underlying preparation; confirm current application instructions separately.
- BYK: levelling and air-draft sensitivity. General surface-flow principles.
- ASTM D523 public scope: specular gloss. This is not a product acceptance limit or a reproduction of the complete test method.