
A small filling repair can disappear when you face the wall and become obvious as soon as you walk past the window. It might look like a dull island, a ring that catches the light or a smooth area interrupting the original roller pattern. The paint may even have the same colour code as the rest of the room. The appearance depends on the repaired surface as well as the paint applied over it. Before adding another coat, describe the difference on the dry wall and check what changes when you move. A different angle can tell you more about the next step than another pass with the roller.
This guide deals with local repairs in a sound interior wall. If the area repeatedly blisters, stains or loses adhesion, investigate the underlying problem before making a cosmetic repair. A fresh finish does not resolve persistent moisture or a failing substrate. The architectural coatings range includes different product types for different parts of the work. Identify the wall substrate, the existing coating and the repair material before choosing a preparation method. A product family is useful for narrowing the search, but the current instructions for the selected materials govern their use.
Compare the patch under the light people use
Allow the repair and finish to reach the condition specified for appearance assessment. A coating that feels dry can still look different from the final surface, so the first useful comparison is one made under consistent conditions. Look at the patch and the adjoining wall together. Change your viewing angle while keeping the lighting steady, then look again under another lighting condition that occurs during normal use. Record which light was on, where it was coming from and where you stood. That makes the observation repeatable if someone else inspects the wall later.
A light or dark patch visible head-on can prompt a colour or hiding check. A patch that appears mainly when you move sideways may involve sheen or texture. A distinct shadow whose position follows the direction of the light can indicate a raised edge or hollow. The signs can overlap. A smooth filler repair within a rolled wall can differ in both sheen and surface texture. The first observation does not prove the cause, but it identifies a useful next comparison. Look at the centre and edge separately. A centre that blends in is little help if a bright perimeter traces the entire repair.
A lamp held close to the wall is useful for finding a profile difference. It is a separate inspection from judging the wall in normal daylight or under installed room lighting. If wall-mounted lighting routinely grazes the surface, include that light in the appearance review. If a portable lamp exposes a defect that is otherwise hard to see, document the conditions under which it was found. The guide to light, colour and interior surface defects covers the broader influence of a room’s lighting. Here the aim is to trace the behaviour of a specific repair.
Separate wall profile from surface texture
Profile is the shape of the wall plane. Texture is the fine pattern left by the original roller, brush or existing coating. A filler repair can be flush with the wall and still lack the stipple of the surrounding paint. Conversely, an area that reproduces the roller marks may still show a shadow where filler meets the old coating. These are different problems. First inspect the transition at the edge, then compare the fine pattern across the centre of the repair. A steady side light can reveal where a shallow ridge or a smoother patch begins.
If the substrate needs filling, start with current guidance for the selected material, such as NanoMix Interior Wall Filler. The historical catalogue treats filler and wall paint as separate products with distinct roles. A hard shoulder where filler ends can remain visible under a new coating. Extending the repair unnecessarily can also disturb sound paint and create a larger area to blend. The appropriate preparation depends on repair depth, the existing substrate, the condition of the surrounding finish and the filler’s instructions. A repeatable result starts with a profile the coating can follow.
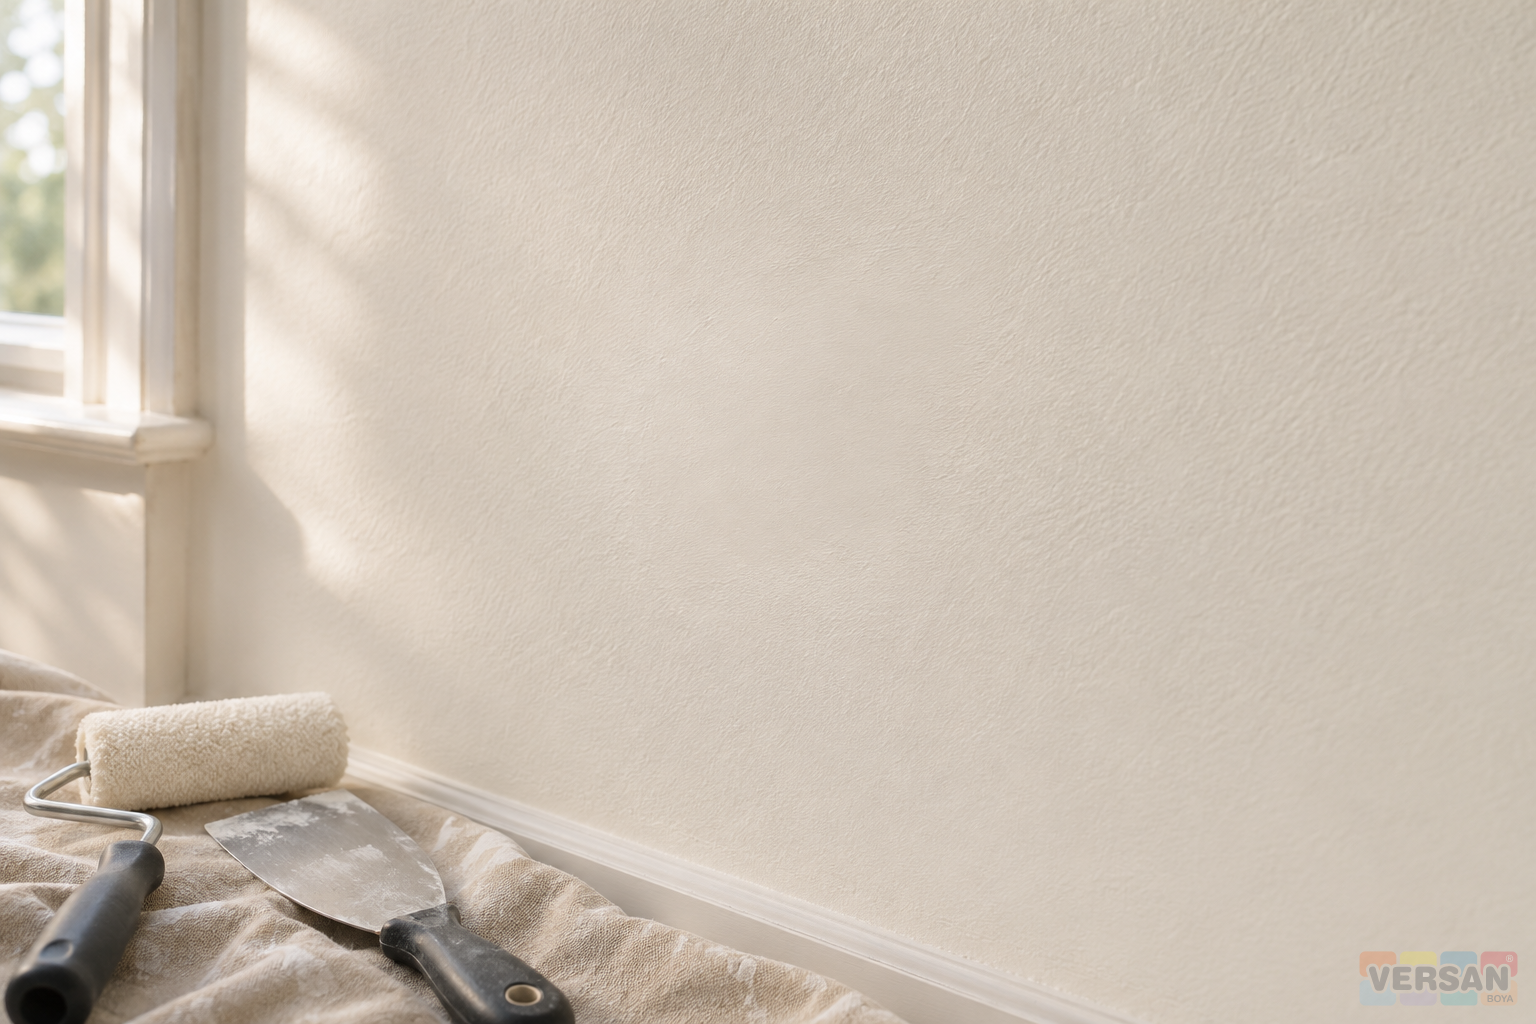
Compare the marks left by the original tool with those left by the proposed touch-up. On a rolled field, a brush can leave a directional texture even when the dry paint is the right colour. At a brushed corner, a roller can produce a different pattern of its own. If the original method is known and is allowed by the current product directions, it provides a useful starting point for a trial. Pay attention to how the tool is loaded and how it leaves the edge. A dry roller dragged over a partly set patch does not reproduce the same marks as a normal pass on fresh paint.
Check whether the repaired area absorbs paint differently
Bare filler, a partially sealed edge and the surrounding painted wall can behave differently when coated. A finish spread across these surfaces may form an uneven film and reflect light differently after drying. A spot can appear dull or shiny depending on the particular surface and application. Neither direction by itself proves that the wall needed primer. Inspect which material was exposed, whether it was ready for coating and whether there was residue from the repair. Then check what the coating system says about sealing the substrate.
The archived product records distinguish NanoMix Interior Wall Primer from NanoMix Transition Primer. NanoMix Silicone Sealer Primer also has its own product record. These listings help identify candidate materials. The appropriate choice still depends on the existing coating, filler, bare substrate and the current system instructions. Use the archive to identify the products and the current technical sheet to decide whether a specific one belongs on the repaired wall. A reference to one primer is no basis for substituting another with a similar name.
Spot priming may help even out the surface where exposed material absorbs differently. A sharply defined transition can nevertheless remain visible if the edge is built up or the background has a different texture. Where several patches are close together, consider the wall plane as a whole. Separate overlapping primer spots can make it difficult to apply a consistent finish. The wall preparation guide for primers and fillers provides a wider view of material selection and surface condition. Before deciding whether to prime a spot or a whole plane, identify the actual surface that will receive each coat.
Match colour, sheen and film build separately
The code from the original can is useful evidence, but it does not tell you how the installed finish has aged. Some parts of a room may receive more daylight than others. A section around a light switch may have been wiped more often than a section behind furniture. If a remaining can is available, verify its product identity and condition before using it as a reference. Without a reliable record, trial a small area and compare it after drying. Avoid committing to a broad touch-up based only on a swatch held against an old wall.
Interior emulsion paint, premium water-based matt interior emulsion, and silk matt silicone interior paint are distinct choices. A word such as matt or silk matt does not establish that a new finish will match the old film in a particular room. Sheen depends on the selected product and on how the finish is formed. A heavy centre or an overlap around a patch can reflect light differently, even if the colour looks close. Adding paint to hide the patch can make its edge more apparent if it creates an uneven film.
The Sherwin-Williams explanation of paint flashing identifies porous surfaces and uneven film thickness as possible causes of variable sheen. This is a general explanation of appearance. It does not set application or drying conditions for the NanoMix products described here. Use the applicable product directions for coating preparation, tools, number of coats and drying. If you want to compare the effect of primer, keep the finish and application technique consistent where possible. If several changes are made together, a better result may be hard to reproduce elsewhere.
Run a trial that resolves a specific decision
Choose a small area that represents both the surrounding paint and the actual repair edge. Record what you intend to find out, such as whether the existing roller pattern can be matched or whether sealing the bare repair reduces a visible sheen change. Record the preparation, primer and topcoat, the application tool and the conditions under which you will review it. A trial in an inconspicuous place is useful only if it represents the relevant surface. If the repair is normally exposed to strong light from a window, a sample hidden in a dim corner may answer a different question.
After the trial has dried as directed, inspect the edge, the centre and the neighbouring finish in that order. Compare them in normal daylight and under the room lighting that matters. If the colour is close but the edge still catches the light, look again at profile and film build before altering the tint. A first trial that gives an acceptable result under one condition is a reason to check the other agreed condition. It is no guarantee that an identically sized patch on another wall will have the same result. Different walls can have different coatings, wear and viewing angles.
Photographs help when they show the repair’s location and the condition in which it was inspected. Keep the camera position and lighting consistent between views. A camera that automatically changes exposure or white balance can make two readings of the same wall look unlike one another. Use photographs to support the observation, and evaluate colour and sheen on the actual surface. The occupied interior repainting and handover guide can help plan access, drying and inspection if people continue using the room during the work.
Choose a local touch-up or a whole wall
A local touch-up is a reasonable candidate when the repairs are few and small, the surrounding paint is sound, the existing finish can be identified and a trial blends acceptably. A wall with several adjacent patches, a visible change in the old coating or strong sidelight may be a better candidate for repainting from one natural boundary to the next. Prepare the wall plane first. Painting an entire wall can provide a more consistent finish, but the new coating follows the underlying profile. A raised edge will still cast a shadow if the preparation leaves it in place.
If a different finish is being considered, compare products such as matt water-based silicone interior paint and silicone interior emulsion against the substrate and intended use. If the project includes the ceiling, evaluate a ceiling paint within its own system. A ceiling and adjacent wall may look similar in colour while having different surface conditions and coating requirements. A corner, opening or trim edge can define the new work neatly. Stopping midway along an uninterrupted wall can leave a long visible junction between old and new paint.
A small screw hole and a broad plasterboard repair illustrate why size alone is a poor decision rule. Suppose the small repair is flush and shows only a dull area from the side. An absorption and tool-pattern trial may help determine whether a local finish is viable. Suppose the broad repair has a rectangular outline that shows wherever light grazes the wall. Inspect the transitions and the loss of the original texture before proposing another finish coat. Several shiny halos along a corridor present a different question again. Check whether the spots share a preparation issue and whether treating the whole plane would provide a more consistent result.
Leave a record that the next person can use
A useful record identifies the wall, the repair material, the existing finish if known, the observed difference, the viewing conditions and the proposed decision. If a trial was used, note the product, tool and sequence. Describe the natural boundaries if the whole wall will be painted, or the limits of the local repair if the trial passes. Record when the finish was inspected and under which lighting. A later reviewer should be able to tell what was evaluated without interpreting a photograph in isolation or asking what someone meant by a note that simply says “looks fine.”
Distinguish the observation from the explanation while the cause is uncertain. “Bright ring around the patch in window light” is an observation. “Primer was omitted” needs evidence from the preparation record or a comparison that tests the hypothesis. Keep the observation stable as you investigate. Changing the paint, primer and tool together can obscure the reason the first attempt failed. A successful decision is one the team can repeat on the intended wall and verify in the conditions in which the room is used.
Sources and scope
- NanoMix · İç cephe sonkat katalog arşivi / Interior finishes catalogue archive (s./p. 4)
- NanoMix · İç cephe macunu katalog arşivi / Interior filler catalogue archive (s./p. 6)
- NanoMix · Astarlar katalog arşivi / Primers catalogue archive (s./p. 10)
- Sherwin-Williams · Düzensiz parlaklık / Paint flashing