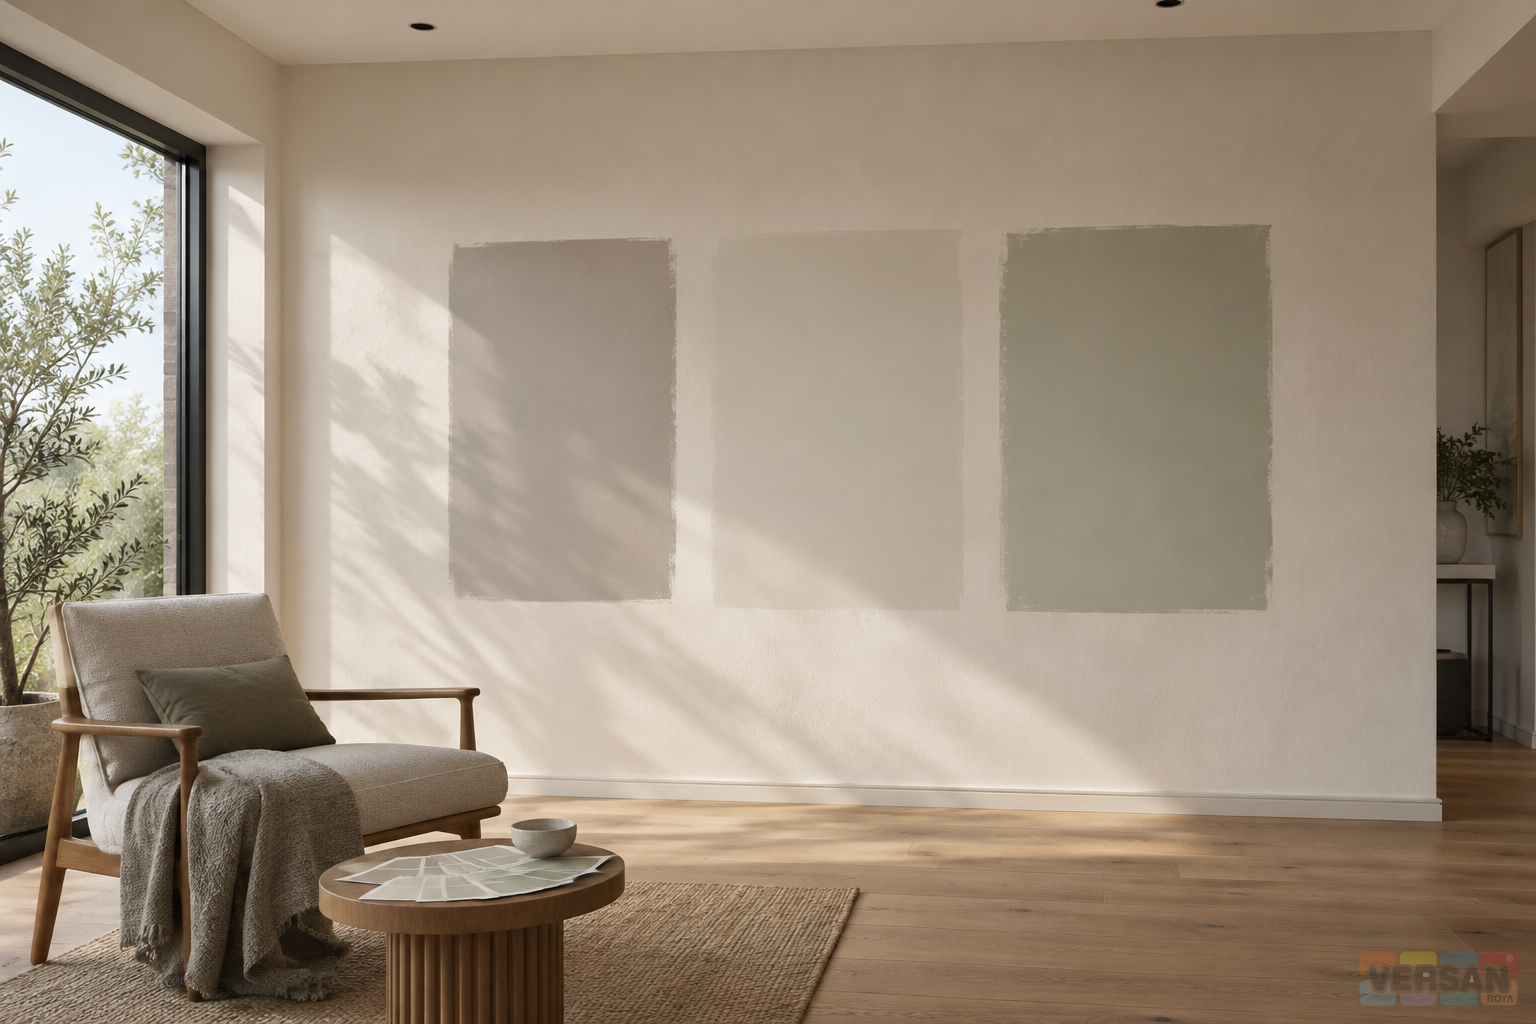
Choosing an interior paint colour from a chart does not establish how a completed wall will look in its actual room. Lighting, substrate shape, existing coating condition and finish appearance need to be assessed together. A pale patch may be an underlying preparation boundary rather than a different colour, while the same coating can appear different as the viewing angle changes. A useful approval process separates these observations before deciding what to change. This article sets out an inspection and sampling workflow; it does not prescribe a universal colour, paint grade or acceptance tolerance for every building.
Start with the intended use of the room when reviewing architectural coating systems. An occupied home, an office reception wall and a service corridor may have different priorities. The existing interior paint selection article addresses washability and finish choice. The focus here is how to evaluate the chosen appearance under relevant light, build a comparable sample and distinguish coating effects from substrate defects. Product-specific preparation, application and drying requirements must be confirmed from the current technical documentation for the actual material selected.
1. Define the appearance before specifying the work
Write a brief description of how the room will be occupied and viewed. Record the window arrangement, fixed lighting, principal viewing positions, close inspection areas and planned furniture layout. A broad reception wall behind a desk is experienced differently from a store-room passage. This distinction does not create a simple hierarchy of good and bad paint; it helps establish an inspection method suited to the project. The client, designer and applicator should discuss the same prepared example rather than imagining different meanings for words such as smooth, soft or clean. A shared reference is more useful than several unrecorded verbal approvals.
The appearance brief can identify the colour reference, selected finish, proposed sample location and lighting that will normally be used at handover. Instead of merely requesting a flawless wall, describe the treatment expected for visible plaster waves, repair boundaries and application texture. Keep this brief consistent when comparing the available product range. Otherwise one discussion changes the colour, another changes the finish and a third silently changes the preparation scope. Sample approval should also record how the larger area will be prepared. An attractive small patch is not evidence that a different substrate or application method will reproduce the same result.
2. Map the light conditions in the room
Observe the room at representative times rather than inspecting it only once. Note the wall near the window, the deeper part of the room and surfaces directly exposed to fixed fittings. The appearance with daylight and ceiling lights together may differ from the impression under artificial light alone. A change in perceived colour is not automatically a reason to alter the paint specification. First establish which observation conditions have changed. Sherwin-Williams' guidance on light and finish explains that natural illumination, artificial lighting and the coating finish jointly affect colour appearance. This is an appearance principle, not a recipe for any Nanomix product.
A simple room sketch can carry the practical information: sample positions, main viewing directions and the lighting arrangement. Associate photographs with a location and time. Photographs help relocate a feature, but they are not the final colour approval reference. If the lighting design is unfinished, identify that uncertainty in the sample record. A strong wall light installed later can change the way a previously approved surface is seen. Reassessment under the new conditions is then appropriate. Treating the lighting installation as unrelated to paint selection can leave the parties debating different environments at handover, even when the material supplied has not changed.
3. Move from a colour reference to a physical sample
The RAL colour chart provides a common reference for discussing a selection. A screen image does not duplicate the physical appearance of a painted wall. Display settings, brightness and surrounding colours influence what the viewer sees. Use digital selection to prepare the shortlist, then produce the sample with the proposed product and actual preparation method. A small printed chip does not have the same surface structure as the finished coating. Compare the shortlisted options in the same location and record their identity rather than relying on descriptive names that different people may interpret differently.
The colour visualiser can help explore a room concept, but it does not measure hiding, finish uniformity or existing plaster condition. When moving to the physical sample, record the product, colour reference and application date for each option. A manageable selection is easier to evaluate than a wall crowded with competing patches. The old colour surrounding a sample can create a strong visual frame, so consider the neighbouring walls and furnishings during the review. Compare samples only when they have reached a suitable evaluation stage under their own product instructions; a fresh wet patch and an established coating are not equivalent references.
4. Consider finish appearance and substrate shape together
Matt, silk matt and glossier appearance descriptions do not imply the same response to reflected light. More pronounced reflections can make some surface irregularities easier to notice. That observation does not establish that every matt product has identical cleaning performance, or that every silk-matt coating is suited to the same conditions. Appearance and service properties should be reviewed from the specific product information. Assess a silk-matt interior paint option from the actual viewing positions as well as through its colour reference. A single frontal photograph may conceal the feature that prompted the inspection.
A matt interior emulsion does not remove the need for substrate preparation. Paint should not be treated as a substitute for repairing wall geometry. Where a high level of smoothness is required, the preparation scope needs to be included in the work description and quotation. Changing the finish solely to disguise an uneven background can neglect the room's practical requirements. Decide which defects will be corrected before finalising appearance. The sample's texture must also be reproducible across the area; a carefully worked small specimen is not a complete process reference for a wall applied with different equipment.
5. Separate colour, texture and substrate differences
Not every visible difference on a wall has the same cause. If an old colour remains visible, hiding should be investigated. A patch that becomes shiny at a particular angle suggests a finish-distribution issue. A line that casts a shadow may involve substrate shape. Repainting everything before making that distinction can leave the original issue unresolved. Record the location, pattern and angle at which the difference appears, along with whether it persists in other lighting. A description such as a repair edge visible beside the window gives the applicator more useful information than a general statement that the paint has failed.
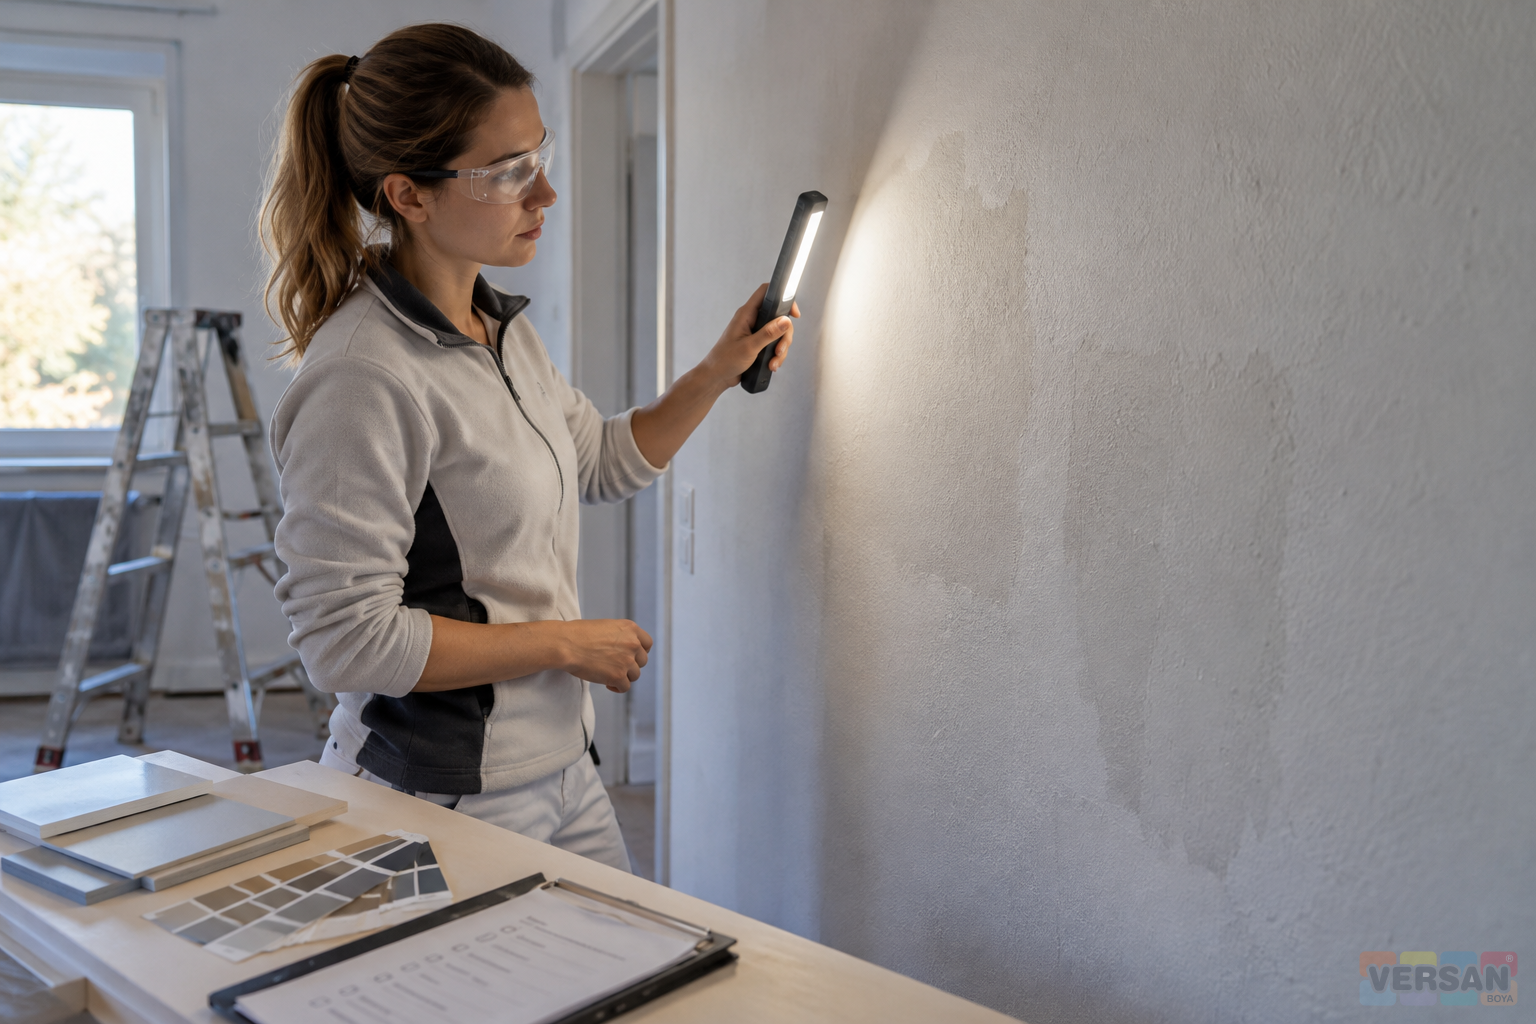
Review normal room lighting and controlled grazing light separately. A side light can help find preparation defects, but it does not automatically become the acceptance condition for every project. Agree the handover method beforehand. Evaluate any need for interior wall filler against the actual defect and substrate suitability. An active crack or continuing moisture issue should not be reduced to a cosmetic repair. Keep the coating film, repair material and underlying construction distinct when deciding the scope. Where the evidence is incomplete, record what needs investigation instead of presenting a photograph as a definitive diagnosis.
6. Address repair patches and uneven absorption
A newly filled area and an established intact coating may not behave as the same background. Sherwin-Williams identifies differences in porosity and film distribution among possible contributors to uneven finish appearance. That general guidance should prompt a review of preparation and application records; it is not proof of the cause on a particular wall. Selection of an interior wall primer needs to be part of a compatible preparation plan for the plaster, repairs and retained coating. Covering only the most obvious patch can leave an unexplained difference at its boundary.
Include a representative repair area in the sample work. If a product looks different on the actual wall than on a smooth test board, do not jump directly to replacing the finish. Review preparation, cleanliness, drying and application consistency together. Archived catalogue instructions are useful for identifying product families, but the current primer and finish requirements need confirmation. Assuming that primer is always unnecessary is as unhelpful as assuming that it will solve every visible problem. If the approved preparation changes, reassess the sample. An earlier appearance approval cannot silently authorise a different sequence on the remaining walls.
7. Prepare samples that can be compared
A useful sample makes the differences between alternatives understandable. If each area is prepared differently or applied with a different roller or dilution, product effects become mixed with process effects. Record the product name, colour reference, substrate, tool and date for every specimen. Follow the sequence permitted by current documentation and confirm that each sample has reached an appropriate stage for evaluation. Do not transfer another product's drying time to the work. Where possible the area should represent the real wall's preparation and lighting, including an ordinary repaired section rather than only the easiest location.
When reviewing a matt silicone interior coating, avoid recording only the best-looking corner. Window-side appearance, a repair transition and the general area can all form part of the same record. If the technical team proposes a different method, identify the resulting specimen as a new trial. At approval, record what has been corrected and which limitations have been accepted alongside the selected appearance. This enables another applicator to understand the decision if personnel change later. A sample approval is a reference for the agreed work, not a substitute for a product-specific coverage or service-life statement.
8. Preserve consistency when moving to the full area
Using the same product name does not by itself reproduce an approved sample across a large wall. Preparation quality, access, tools and work sequence need to remain consistent. The plan can identify who prepares the paint, how containers are managed and how individual working areas are completed. Undocumented changes become difficult to explain when several appearance differences are found only at the final inspection. Give the applicator the sample method as well as the colour reference. Record an agreed change when the full area reveals conditions that the original trial did not represent.
Review the permitted methods and preparation conditions for the selected interior emulsion paint. Repeatedly adding more water or mixing different materials is not a controlled response to an uncertain appearance. If a change is justified, limit it to manufacturer-confirmed instructions and assess it in a documented trial. In occupied rooms, protection, working hours and conditions for returning the space to use also matter. Connect appearance planning with the building maintenance and quantity-planning article so that surface preparation and access are included rather than hidden behind a paint-only estimate.
Record ceiling and wall selections as separate product and appearance decisions. A ceiling paint selection is not a general instruction to substitute that material for the wall coating. Review the junction, neighbouring white tones and the area around fittings during sampling. If another silicone interior emulsion option is considered, retain its distinct product identity. Similar names do not establish an identical application recipe or surface appearance. Separate preferences for different room surfaces in the enquiry so that purchasing and application teams can identify the intended material without relying on an informal description such as the white paint.
9. Use photographs as supporting evidence
Photographs are valuable for locating a defect and tracking its development, but a phone image is not a calibrated colour measurement. Automatic white balance, exposure and image processing can alter the recorded wall appearance. Use an overall room view, a medium-distance view of the affected area and a close view of the feature. Note the direction of the photograph and lighting state when recording the same position later. A dark close-up without context does not explain why an entire wall should be refinished or establish how the area looks during normal occupancy.
Associate every image with the relevant surface identifier. Make clear whether an image shows an approved sample, retained coating or completed work. Provide product identity, colour reference and preparation information with the inspection request. Consider permission and privacy when recording people or private rooms. An inspection file should not confuse promotional imagery with evidence of the actual project. If the image is too small or lighting is uncertain, state the limitation. Do not infer measured moisture content, adhesion strength or certain coating compatibility from visual appearance alone. Follow-up information should answer a defined technical question rather than simply add more pictures.
10. Specify what a correction is intended to achieve
When a difference is identified, decide what requires correction before prescribing more work. A changed colour preference calls for a new reference; inappropriate substrate shape calls for preparation review; an application-distribution issue calls for a controlled process assessment. A small touch-up cannot be guaranteed to disappear at its boundary in advance. It may be appropriate to work to a natural wall boundary, but the decision should follow a trial and technical assessment. Adding another coat without explaining the original observation can obscure the uncertainty rather than resolve the cause.
Do not automatically transfer exterior-surface diagnoses to interior walls. The chalking and blistering article illustrates why different symptoms require separate investigation; its exterior context is not an interior repair recipe. A correction quotation can identify removal, filling, priming, finishing and area protection as separate tasks. If an unexpected substrate issue appears, clarify the revised scope. Instructions need to be more specific than make the defect disappear. A recorded repair boundary and method make the material, labour and access implications easier to review and give the follow-up inspection a meaningful reference.
11. Agree the acceptance review before handover
Review the completed wall alongside the approved reference and normal use conditions. Identify who will attend and which lighting arrangement will be used before the work starts. There is no universal viewing distance or defect tolerance established by this article. Contract requirements, project conditions and applicable technical documentation define their own boundaries. The purpose is to reduce shifting expectations and make observations understandable to everyone involved. Record whether an unusual inspection light is a preparation aid or an agreed acceptance condition; otherwise the parties may unknowingly use different criteria.
The handover record should separate accepted areas, outstanding corrections and locations requiring observation. Approval in one room does not automatically cover another room with a different substrate. Provide the selected product's current cleaning and return-to-use recommendations; touch dryness is not identical to development of every service property. The paint frequently asked questions can explain general terminology, while project-specific issues still need technical confirmation. Retain the product, container and colour information to support later maintenance. A future repair should be based on the documented original work rather than an assumption about what was applied.
A short joint review can consolidate several separate opinions into one useful record. The applicator, client and designer inspect the same location under the same conditions instead of judging different photographs taken at different times. Identify open items by surface reference and revisit them from the same position after correction. Check whether a repair has affected an adjacent accepted area. If the scope has changed, record the need for an additional sample or approval. This procedure does not invent a standard tolerance; it applies the project's existing expectations consistently and creates a clear record of the decisions made.
12. Prepare a useful technical and quotation brief
Provide the substrate type, existing coating condition, approximate area, intended appearance and lighting arrangement with an interior-paint enquiry. Include an overall view and the affected area among the photographs. If colour or quantity is undecided, identify it as unknown rather than supplying a false certainty. A quotation request can also describe the sample work and preparation scope. Product suitability, application planning and commercial scope are related but distinct questions. Keeping them visible allows the technical team to request the missing information without forcing an early product decision.
A professional interior appearance depends on managing colour selection and substrate preparation within the same decision. Sampling, light observations, defect records and acceptance conditions support each other. The workflow does not promise a price, coating lifetime or flawless outcome. It clarifies which evidence has been established and which questions await technical confirmation. Records linking the approved specimen to the actual application are also useful during future maintenance. Whenever the product or preparation changes, check whether the earlier approval still represents the work. That final check is particularly valuable when a project is being completed in stages by different teams.