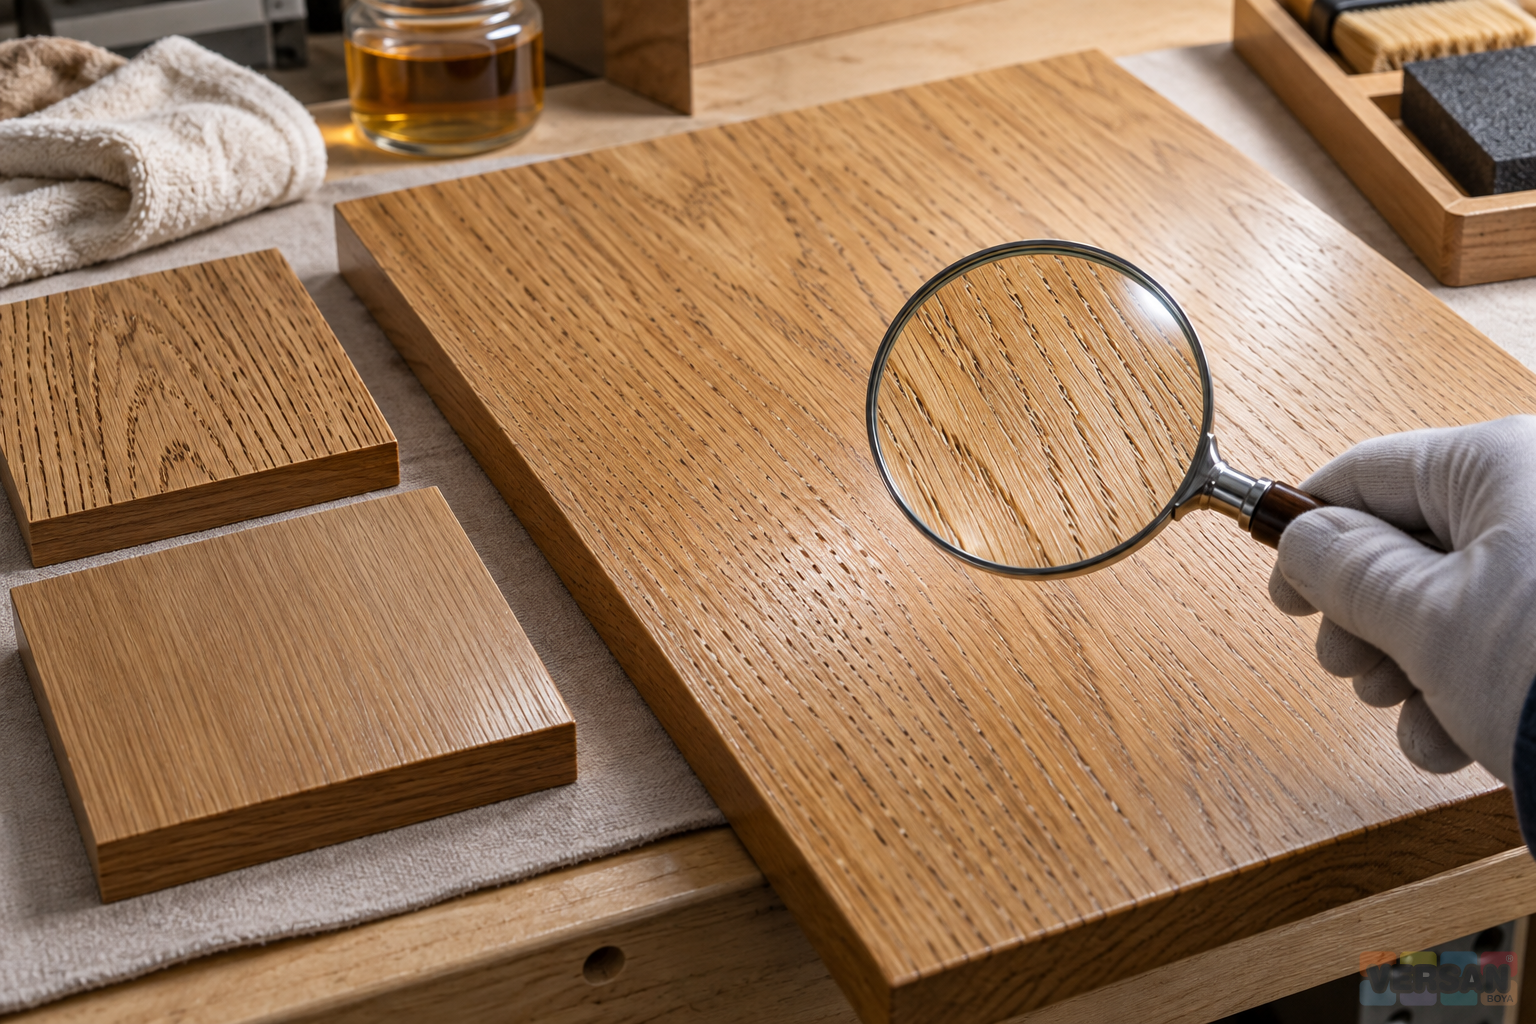
A visible depression in a clear finished timber surface is not automatically a coating defect. Some furniture projects deliberately retain the texture of the timber, while others require a much smoother appearance with less visible pore relief. Before selecting a nitrocellulose finish, the purchaser and applicator need to agree which result they actually want. Expressions such as natural, smooth and premium are useful conversation starters, but they are poor acceptance criteria on their own. A physical reference sample turns those expressions into something that the workshop can prepare, inspect and repeat.
This article considers nitrocellulose varnish through the relationship between pore filling, sanding and the final coat. It provides a practical framework for discussing a furniture finishing job, rather than a universal application recipe. Thinning, film build, drying intervals and the approved undercoat must come from the current information for the specific product. The central question is where the required appearance should be established in the process. Asking the final coat to correct every earlier variation makes both appearance control and fault investigation unnecessarily difficult.
1. Specify pore appearance separately from gloss
An open pore appearance allows the natural surface structure to remain visible. A closed pore expectation calls for a more level surface, with the depressions less apparent. Neither expression specifies a gloss level. A matt surface can be relatively closed, while a glossy surface can still reveal pronounced pores. When comparing the wood and furniture coatings range, record both the intended sheen and the desired texture. Otherwise a supplier can satisfy the word gloss while the buyer remains dissatisfied with the surface profile.
Agree how the reference will be viewed. A horizontal tabletop, a vertical cabinet door and a decorative wall panel are seen from different positions in normal use. Examine the sample in a representative position and also under an agreed inspection light. Record the lighting arrangement sufficiently clearly that the next inspection is comparable. Changing to a much harsher light at handover can produce a different judgement without any change in the finish. Our article on matt, silk matt and gloss varnish selection develops the separate question of sheen.
2. Identify the timber before designing the finish
The USDA Wood Handbook explains that filling may be needed to obtain a smooth finish on hardwoods with larger pores. The relevant principle is straightforward: the substrate contributes to the final appearance. Record the timber species, whether the component is solid wood or a veneer, and any known previous treatment. Two different timbers should not be expected to produce identical pore appearance simply because the same clear coating is used. The trial should reflect the materials that will actually enter production, including any combination of species within the furniture.
Edges, joints, repairs and thin veneers deserve separate attention in the sample plan. A flawless central offcut may omit the features that cause most disagreement on a finished door. Mark the faces that matter visually and explain which surfaces will be concealed after assembly. When discussing a furniture varnish, provide this information alongside the product enquiry. If the history of the timber is unknown, record that uncertainty. An additional coat is not a substitute for understanding an uncertain substrate or an unidentified earlier treatment.
3. Separate observations from suspected causes
Depressions following the grain may be associated with the natural structure. Random pinholes, directional sanding scratches, isolated craters and raised particles call for different investigations. Appearance alone does not establish a reliable diagnosis. Compare the raw timber, the prepared intermediate surface and the finished sample. If a feature only appears at the final stage, do not automatically describe it as an unfilled natural pore. Equally, applying a thicker coat across the whole component is not a justified response to every kind of visible irregularity.
A useful record states where the feature occurs, its direction, how frequently it appears and when it was first noticed. Include an overall photograph and a close view under consistent lighting. Write the observation before the interpretation: visible grain depressions and incompatible filler are different statements, and the second requires evidence. This distinction helps a technical discussion stay focused. It also allows the production team to compare apparently similar complaints without assuming that they share a cause. Keep rejected samples where practical so that later discussion is based on the actual surface.
4. Give filler, primer and finish their correct roles
Workshop language sometimes uses filler for several different materials. A material intended to occupy wood pores is not necessarily the same as a sandable intermediate coating. In a transparent system, the effect on timber colour and grain visibility also matters. Ask the manufacturer to identify the approved combination for the selected substrate and finish. Record product codes and the order of application, rather than only the general resin family. This creates a usable specification when the job is repeated or when a different operator prepares the next batch.
Nitrocellulose primer paint is a paint system component; the shared resin description does not make it a transparent pore filler. Using an opaque primer where the timber must remain visible can fundamentally change the intended finish. Likewise, clear wood preservative and pore closure are separate subjects. These links help distinguish product functions. They are not permission to stack the products into one system. Compatibility and the complete sequence still need confirmation for the actual job.
5. Treat sanding as a controlled preparation stage
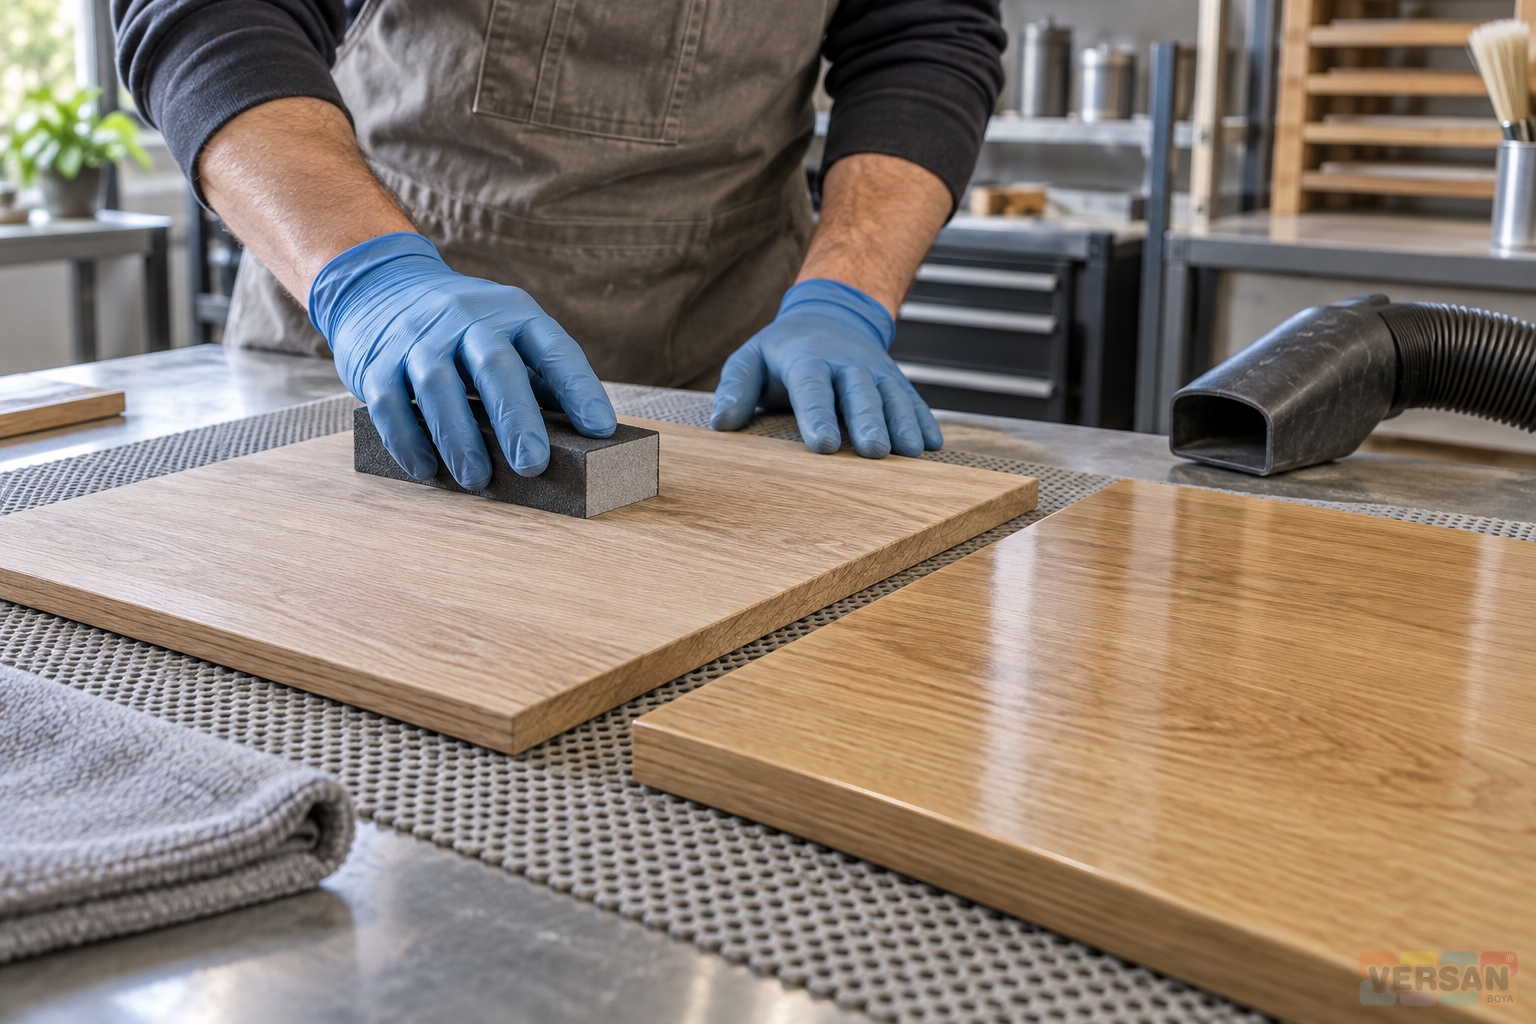
Sanding is not only about making a surface feel smooth to the hand. It is part of preparing a consistent intermediate surface and controlling visible preparation marks. The abrasive, equipment and progression must suit the timber and the coating system. A single universal grit recommendation would ignore those differences. During the trial, record what was used and how the component was handled. If a later sample changes, that record gives the workshop something more useful than a general instruction to sand more carefully.
Edges and thin veneers need particular care. A technique that works on a broad central face may remove too much material at a narrow edge. Clean the test piece using an appropriate method before judging the remaining marks. Dust can obscure the appearance, while an unsuitable cleaning material can introduce a new variable. Our discussion of MDF primer, sanding and edge preparation concerns another substrate. Use it to understand why edges need their own plan, rather than copying its process directly onto a natural veneer.
6. Distinguish handling, sanding and recoating readiness
A surface that feels dry is not automatically ready for every subsequent operation. Sanding, recoating, handling and stacking should follow the conditions specified for the product. Keep a record of actual application times and relevant environmental conditions. Writing sanded the next day does not explain whether two batches experienced comparable conditions. The same elapsed period can occur under different circumstances. The purpose of the record is to support a repeatable process, with decisions tied to the current technical instructions instead of an informal workshop habit.
Inspect the intermediate surface and the finished sample at defined stages. Where appropriate, compare the initial appearance with the appearance before packing. This is not an instruction to extend every drying period arbitrarily. It is a way to notice whether the approved appearance remains stable during the intended production sequence. If it changes, investigate preparation, application and material compatibility together. Adding unapproved thinner or extra film build to chase a visual result would introduce another uncontrolled variable. Any revised procedure should remain within the product's confirmed application limits.
7. Keep thinner identity and use traceable
For nitrocellulose thinner, confirm the material recommended for the actual varnish. Similar trade descriptions are not sufficient evidence that two products are interchangeable. Within the thinners and auxiliaries range, separate materials intended for equipment cleaning from those permitted in the application mixture. Unlabelled transfer containers and unidentified residues make trial results difficult to reproduce. Record the material identity and relevant batch information, particularly where a finish will be supplied across several production runs.
Solvent based work must follow the current safety data sheet and the workplace's assessed procedures for ventilation, handling and protective equipment. This appearance guide does not specify a ventilation system or a universal protective equipment arrangement. The trial should also represent the intended production equipment and environment. A sample prepared with a different thinner, another application method or a separate drying area may be a poor basis for approving the production process. Record such differences explicitly rather than treating the sample and the production line as automatically equivalent.
8. Compare alternative finishes as complete systems
Changing gloss alone does not eliminate an unresolved preparation requirement. Gloss polyurethane varnish can be considered as a different system option, but it is not automatically approved over an existing nitrocellulose coating. With silk matt polyurethane varnish, pore appearance and sheen still require separate sample criteria. Resin names do not establish a universal ranking of quality or durability. Compare the documented service scope, the complete preparation sequence and the appearance achieved on a representative component.
A frequently cleaned tabletop, a decorative panel and a lightly handled cabinet door can present different requirements. Options such as matt polyurethane varnish and gloss acrylic varnish should be examined against those requirements, not mixed together because all are clear finishes. If the selected system changes, prepare a new sample including the appropriate undercoat, preparation and intervals. Approval of the original sample cannot be transferred automatically to a different chemical system, even if the two samples have a similar colour.
9. Build a small, interpretable trial programme
Changing every variable at once makes even a successful trial hard to explain. Use representative pieces of the same timber and vary the preparation feature that actually needs investigation, within the manufacturer's approved limits. For example, if two approved preparation approaches are being compared, retain the same final coating and viewing conditions. This is a framework for a controlled comparison, not an instruction to invent unapproved combinations. The value of the trial lies in identifying which documented process produces the agreed appearance on the relevant component.
Assign a code to each sample and record the substrate, preparation sequence, materials and application date. Keep markings away from the appearance face. Where a sample is rejected, state why: pores more pronounced than the reference is more useful than poor quality. Photographs support the record but should not replace the physical sample where texture and reflected appearance matter. A screen cannot reproduce the feel of a surface, and its image depends on lighting and display settings. Retain the accepted reference so that later batches are judged against the same object.
10. Create a separate plan for previously finished timber
A process developed for new wood should not be transferred directly to an old varnished component. Establish the identity and condition of the existing film as far as possible, including any maintenance products previously used. A small appearance trial does not by itself establish long term compatibility. The necessary assessment and trial scope should be agreed with the technical team. Our article on refinishing furniture and existing coating compatibility explains why this is a separate decision rather than a minor variation of a new wood job.
For a local repair, assess the boundary as well as the repaired centre. Colour, sheen and pore relief can all affect whether the transition is acceptable. The trial should represent the size and location of the intended repair. A result that looks satisfactory on a tiny area may be judged differently across a large cabinet front. Technical film integrity and visual acceptability are related but distinct assessments. Explain the expected appearance and any limitations before committing the full component to repair, so the purchaser knows what the agreed process is intended to achieve.
11. Transfer sample decisions into production instructions
Consider a hypothetical order combining veneered doors and solid timber handles. Start with separate representative pieces and identify their visible faces. If the door centre meets the reference but the edges do not, investigate the edge construction and preparation record before adding an extra finish coat to everything. A revised edge preparation sample may be appropriate within the approved system. Once accepted, describe that change in the production instruction. Do not leave the next operator with only the instruction to make it look like the sample.
Check early production pieces before the entire order is completed. This is an opportunity to detect departure from the reference while the affected quantity is still manageable; it is not a guarantee of product performance. Identify and separate any pieces requiring review, then define the correction from the observed evidence. Preserve the accepted sample without applying unknown cleaners, adhesive tape or additional polish to its reference face. If the reference changes, issue a new code and effective date. Quietly replacing an old sample destroys the traceability that the programme was designed to create.
12. Align the quotation, inspection and handover records
A useful enquiry states the timber, component geometry, number of visible faces, edge details, existing condition and accepted appearance. Flat panels and highly profiled components do not necessarily involve the same preparation work. Identify filling, sanding, cleaning, drying space and inspection as parts of the job, rather than comparing varnish purchase prices alone. Determine material quantities from confirmed product information and representative application results. Do not promise a fixed coverage figure where the current technical data and the actual application conditions have not been established.
At handover, compare the finished work with the retained reference under agreed conditions. Review pore appearance, surface continuity, edges and consistency between pieces. If there is a difference, identify the stage at which it arose before choosing a correction. A professional nitrocellulose finish does not have to erase every natural pore. It should meet the intended appearance and service requirement through an agreed, repeatable system. Share the timber type, present surface condition and target sample with Versan Boya's technical team to turn a general varnish enquiry into a clear preparation and product selection discussion.
- USDA Wood Handbook, Finishing of Wood — interior wood, fillers and clear finishes
- Nanomix varnish catalogue archive, pages 37–39 — family background; not used as a numerical nitrocellulose application specification.