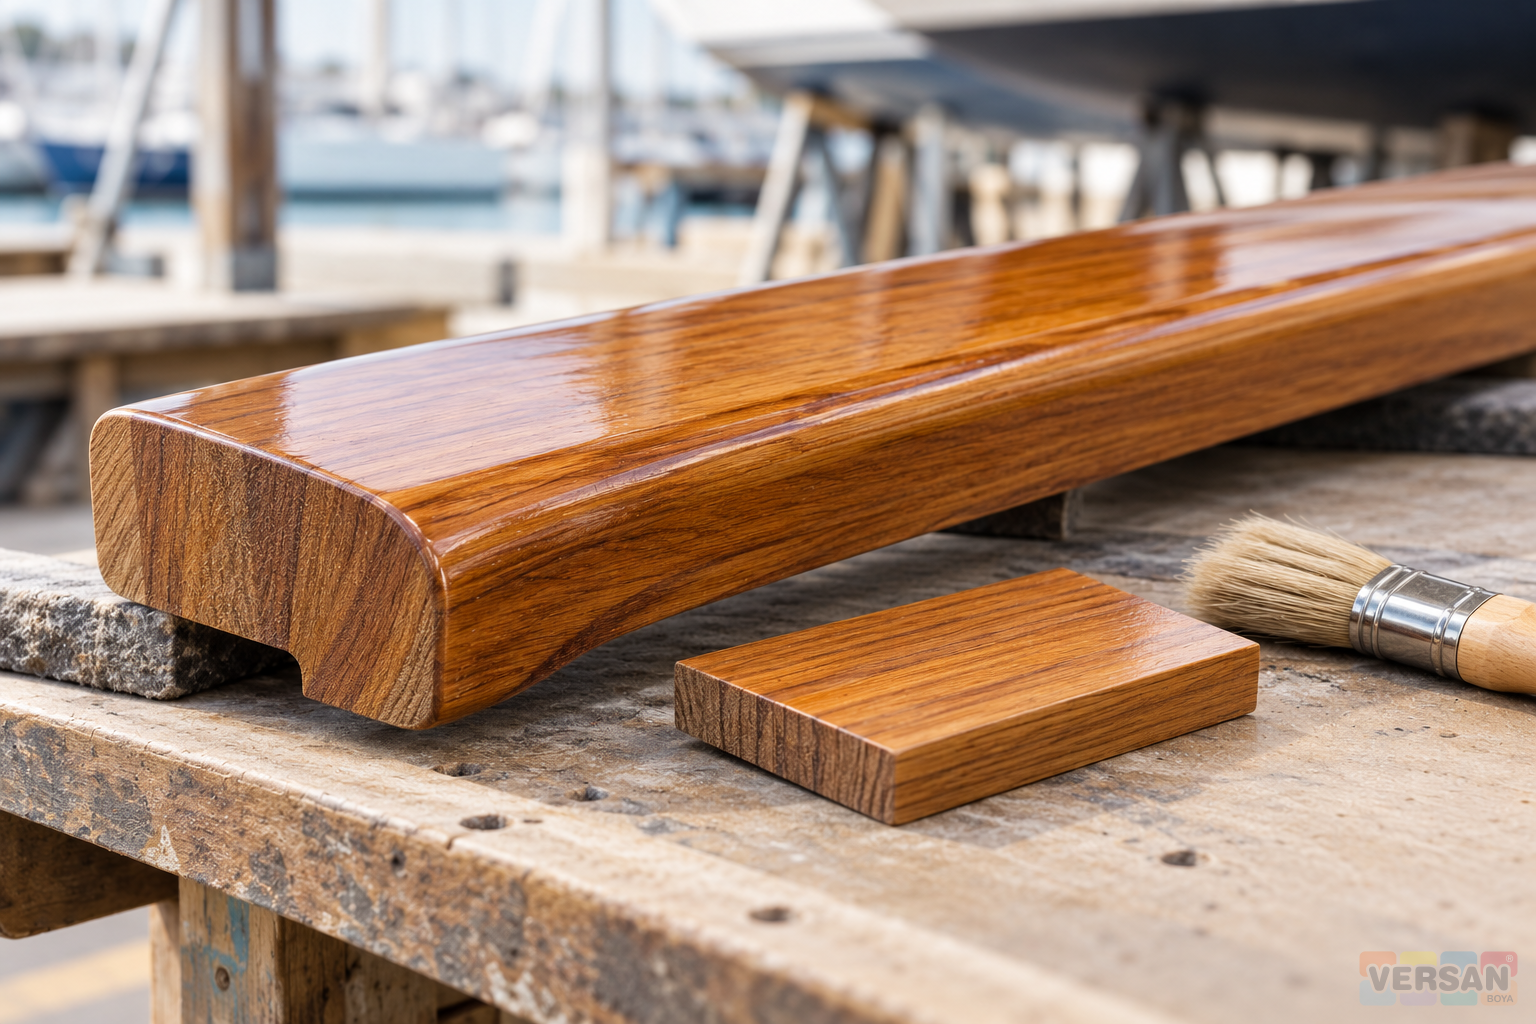
Varnished yacht timber is often judged by the gloss of the broad visible face. Early maintenance concerns, however, can appear at a cut end, a narrow edge or a fixing before the central surface looks noticeably different. A joint may darken, a small area beside a screw may lift, or an underside may retain water while the upper face still appears sound. A useful application plan therefore treats these details as inspection locations in their own right. The finish, the timber geometry, the mounting arrangement and the route by which water leaves the component must be considered together.
Confirm the identity and intended service of the selected yacht varnish against current technical information. This guide does not give one thinning ratio, coat count or maintenance interval for every timber component. It explains how to inspect edges, end grain, joints and hardware interfaces, where a decision to stop may be needed, and what should be recorded at completion. The examples are process suggestions rather than accounts of work on a particular vessel. Current product instructions and the actual condition of the component take precedence. A structural or fastening problem is not resolved merely by applying a new clear coating.
1. Map the complete component rather than its visible face
Identify the top, underside, sides, ends and accessible fixing interfaces at the beginning of the inspection. A handrail, trim strip, seat and hatch can have very different exposure and drainage arrangements. Water may run freely from one surface but remain beside a joint on another. Record the location, typical water and sunlight exposure, contact during use and known maintenance history. Even opposite sides of the same vessel can experience different conditions. This prevents the assumption that every surface needs identical treatment and reveals where access will be restricted once hardware or neighbouring parts are in place.
Keep product functions distinct when reviewing the marine coating range. A transparent timber finish does not have the same role as a coating intended for a different marine substrate. Suitability for exposed timber above the waterline does not automatically establish suitability for continuous immersion. Give the technical adviser the actual service position and operating conditions. A description such as “outdoor wood” can omit the very detail that determines the preparation and maintenance approach. “Underside of a rail beside a mounting foot” is more informative. A general marine label is the beginning of the specification discussion, not its conclusion.
2. Distinguish a geometric edge from exposed end grain
An edge is the junction between surfaces. End grain is a surface where the timber fibres have been cut across. Both can occur at the same position, but they are not interchangeable terms. End-grain exposure deserves specific attention when assessing routes for moisture entry. Marking these locations on the component record helps avoid a situation where a well-finished upper face conceals an overlooked cut end. If the end will become inaccessible after assembly, consider its protection before that stage. Coating the outside of a completed joint does not demonstrate that every concealed timber surface has been reached.
A sharp edge can be more difficult to prepare and coat consistently than a broad flat face. This does not authorise arbitrary rounding of every component. Any change in geometry must respect the part's function, appearance and relevant technical requirements. Preserve the necessary section and assess how the selected finish can remain continuous. Do not remove material from a load-bearing or fixing area simply to make brush access easier. Inspect the edge from more than one angle, because a bright reflection can resemble an uncoated line. Separate an optical effect from a real interruption in the finish before deciding on a correction.
3. Separate coating defects from timber and fastening concerns
Dullness, shallow scratching and local lifting need not have the same repair scope. Darkening of the wood, soft material, a significant crack or movement around hardware can require assessment beyond the finish itself. Record unexplained marks before cleaning or sanding removes their context. Stop work at a location that needs a technical decision instead of covering the uncertainty with varnish. Use observation language rather than an unsupported diagnosis. For example, “a dark ring beside the screw” records what was seen; it does not assert that decay or metal corrosion has been established. Further evidence may change the interpretation.
The article on early varnish damage and the maintenance decision helps distinguish sound retained finish, local defects and more extensive coating loss. If hardware needs attention or timber repair is required, identify the responsible person and the order of operations. Varnishing does not replace those tasks. Before removing hardware, consider support, identification and reinstatement requirements. A safety-related component should not be released for use solely on the basis of an attractive coating inspection. The record must make clear which questions concern surface appearance and which require a separate technical judgement about the component or fastening.
4. Identify where water arrives and where it can leave
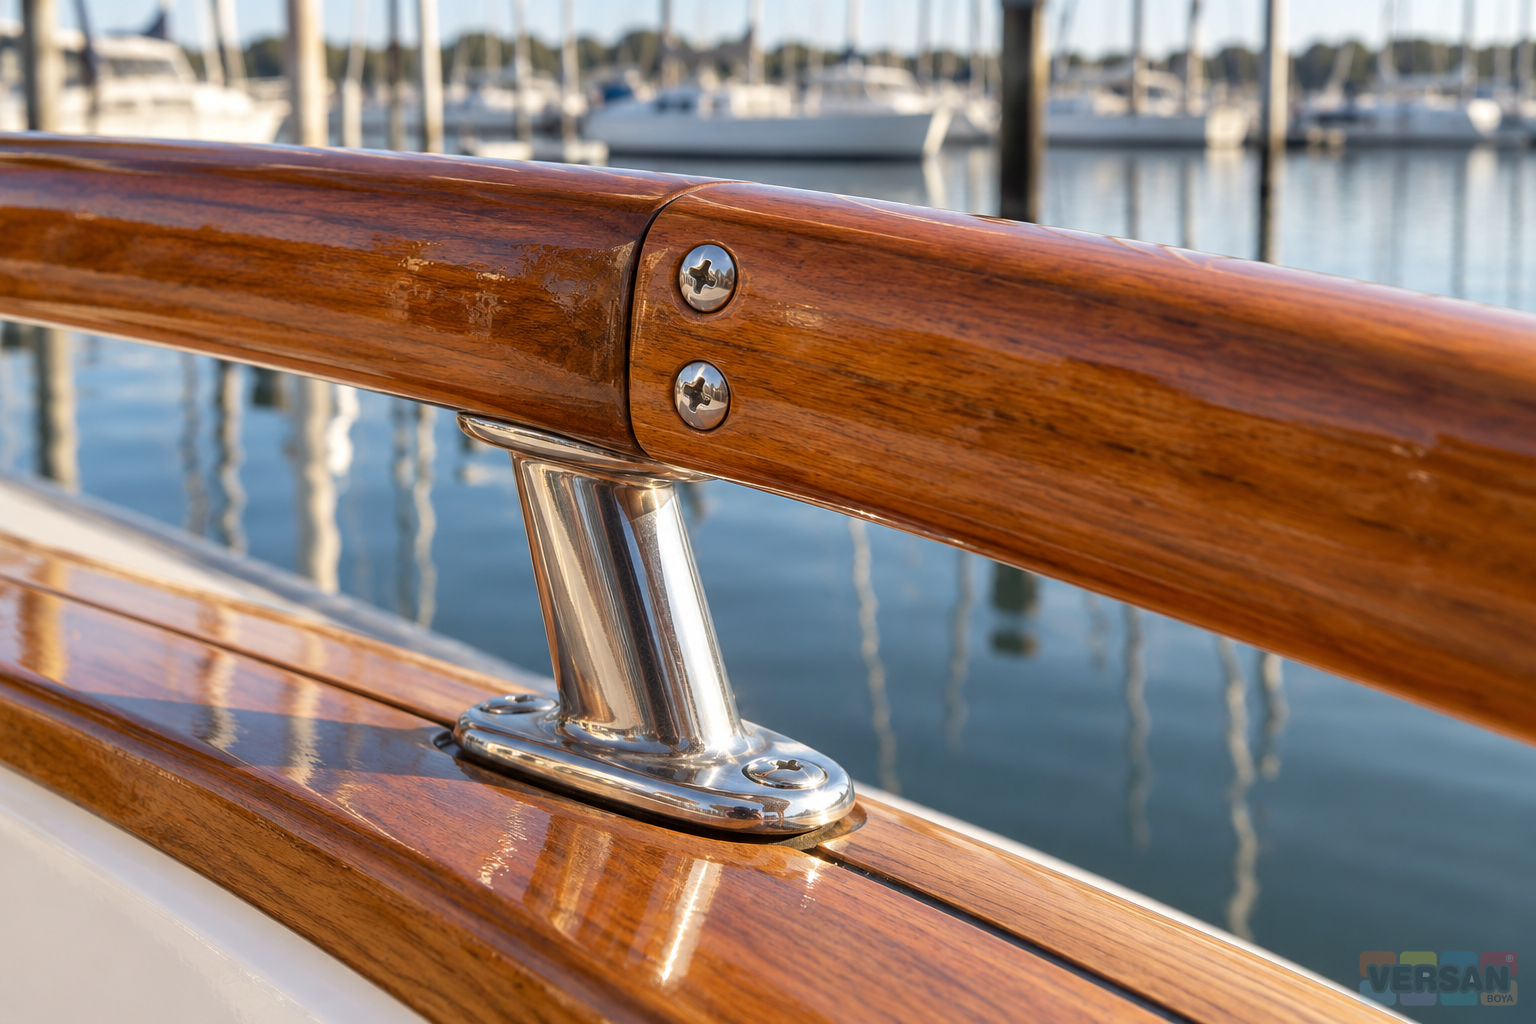
Repeated damage at a joint should not automatically be attributed to the final coat. A water-holding recess, a concealed underside or another feature directing water towards the area can contribute to the observed pattern. A surface that looks dry immediately after cleaning does not establish how it behaves during service. Consider the installed position and normal exposure. Do not fill every visible gap merely because an uninterrupted glossy surface appears more finished. Some openings support drainage or drying. Their function should be understood before any alteration is made, particularly where the gap forms part of the original component arrangement.
Varnish is not a substitute for a designed sealing or mounting detail. Excess material placed into an opening may hide a route without addressing the source of water. Establish which paths should remain open and refer any necessary joint or bedding work to the appropriate technical person. The broader article on sunlight, moisture and yacht timber maintenance complements this detail-focused assessment. Compare recurring locations with previous photographs taken from a similar angle. That comparison may explain more than repeatedly recoating the same small area without recording when or under what conditions the mark returned.
5. Do not equate similar appearance with system compatibility
Transparent glossy wood finishes can belong to different product families and intended uses. Preserve that distinction when comparing wood and furniture coatings with a finish proposed for yacht timber. A furniture varnish is not automatically a continuation of an existing marine system because it looks similar in the container or on a sample. If the earlier coating is unknown, say so in the record. Review its condition and the proposed compatibility through appropriate information and a defined trial. Sharing a brand name does not by itself prove that two different coatings can be applied over one another.
Pages for polyurethane varnish and nitrocellulose varnish are useful for distinguishing families, not as automatic marine substitutes. Confirm the exact product, any required components, service location, preparation and maintenance instructions. Never transfer a numerical recipe from another product in an old catalogue. A trial cannot resolve a missing decision about intended use: first establish that the proposed product is appropriate for the service. The trial can then assess application and appearance within that confirmed scope. It does not extend the product's authorised performance or turn an unsupported combination into a specified system.
6. Arrange preparation around access and assembly
If an end or underside will be concealed after assembly, plan the work sequence accordingly. Where removal is appropriate, identify components and photograph the fixing arrangement. Keep technically controlled mounting work under the responsibility of the relevant person. An area that the brush cannot reach is not complete simply because the visible face has been varnished. Pouring material into a narrow, unprepared opening does not demonstrate a sound protective film. Protect neighbouring coatings, metalwork and upholstery during preparation. Prevent dust and cleaning residue from being pushed into a joint that will become difficult to inspect once it is assembled.
Choose cleaning and abrasion methods for the actual timber and the selected product instructions. Excessive removal can change the shape of an edge, hollow softer areas or damage a fastening location. Record separate preparation zones where required. An entry such as decorative wood varnish may appear in a previous purchasing history, but a similar name should not be used to complete an uncertain maintenance record by assumption. Seek the appropriate identification and documentation. Once preparation is considered complete, inspect cleanliness and condition together. Do not rush a new coat over an unresolved surface merely to make the component look uniformly finished.
7. Link thinning and cleaning decisions to product identity
Adding an arbitrary thinner to improve brush movement can introduce another uncontrolled variable. Confirm the designated thinner and any permitted addition from the selected product's current instructions. The thinners and auxiliaries range contains materials intended for different purposes. A product called synthetic thinner is not thereby suitable for every yacht varnish. Similarly, a cleaning solvent does not automatically become a coating reducer. Keep old cleaning residues out of new material, and maintain clear identification of containers and equipment. Traceability is especially valuable when a small detail shows a different application response from the surrounding surface.
Do not judge thinning solely by how easily the brush travels. Edge pull-back, runs, local waviness or an altered appearance should be assessed with the application conditions and substrate. Another manufacturer's numerical example is not a Nanomix recipe. Establish ventilation, container handling and waste arrangements using the relevant product safety information and task assessment. This article does not select a particular glove, respirator or exposure period. Those decisions depend on the actual materials and operation. Preparation for suitable working conditions belongs in the same plan as the coating sequence, rather than being treated as a separate concern after solvent or contaminated equipment is already present.
8. Include the relevant detail in the trial
Use a suitable trial area or timber sample that represents the question being investigated. A flat sample alone cannot show behaviour at a cut end or edge. Include the relevant geometry and record preparation, product identity and observation conditions. New bare timber may not represent compatibility with an old retained finish, so state the limits of the trial. Assess appearance, flow, runs and continuity when the coating has reached an appropriate condition. Investigate an observed defect before extending the method to all components. A satisfactory small trial is useful evidence, but it does not prove that every concealed detail on the vessel has been prepared or completed.
Initial photographs help distinguish natural timber colour variation from changes associated with application. A darker-looking end is not automatically a coating defect, while a genuinely exposed line or lifted patch should not be dismissed as natural grain. Retain the accepted trial's preparation and product information in the maintenance file. The guide to wood impregnation and film-forming varnish supports the distinction between different protection objectives. Penetration into timber alone does not establish the required service performance or compatibility with later layers. The intended system and its documented limitations remain the basis for deciding whether the trial is relevant and satisfactory.
9. Check continuity without creating local accumulations
Extra attention at an end or edge does not mean leaving uncontrolled excess material. Drops can form at an underside, material can collect beside a bracket and a narrow recess can hold a pool. Manage these through the appropriate method and product instructions. Obtain between-coat preparation and timing from the current sheet. Touch dry, suitable for another coat and ready for assembly are different conditions. Plan the component position and inspection access so that the underside can actually be seen. Approving only the upper face can leave both accumulations and missed areas undiscovered until after the part has been installed.
Review the finish from different angles under suitable light. A heavy layer that obscures the timber may produce impressive gloss without demonstrating correct application. Each coat must be in the required condition and remain coherent across the intended surface. Do not use accumulated varnish to obstruct movement or drainage around fittings. Mark completed faces clearly in the work record and leave an inaccessible area identified as outstanding. The next responsible person can then plan assembly or further inspection on an accurate basis. Making a limitation visible is more useful than a general completion statement that hides a small unresolved detail behind an attractive photograph.
10. Treat reassembly as a separate inspection stage
A component that looks sound on the bench may be damaged during handling, fastening or contact with hardware. Establish readiness for assembly from product instructions and actual conditions; a non-sticky surface is not a universal release test. Fastening and bedding requirements remain the responsibility of the appropriate technical person. Do not compromise a secure connection simply to protect the cosmetic finish. After installation, inspect the exposed ends, undersides and mounting interfaces again. Compare the result with the preparation photographs, locate new marks and record any area requiring attention. Where a correction is made, verify it rather than closing the item solely because work was reported complete.
The handover list should identify the details checked: edge continuity, accessible end grain, the joint line, hardware interfaces and openings that must remain functional. State outstanding inspection or assembly matters separately from coating appearance. Do not mark an inaccessible or unassessed location as passed. The recipient should know which product was used, where it was applied and which documents should guide later care. Handing over a partly used container without that context does not create a complete maintenance record. Keep the actual completion date, any limitations and the responsible contact together so that a future review can use evidence rather than reconstructing the job from memory.
11. Use a repeatable condition record for later maintenance
One universal renewal interval cannot describe every vessel and timber detail. Exposure, coverings, contact, water retention and previous work can differ. Photographing the same points from a similar angle helps identify a change before the broad face appears significantly different. Give previously troublesome edges and joints a place in that routine. A calendar reminder can organise an inspection, but it does not determine the actual condition of the coating or the component. If the observation raises a structural or mounting concern, the response must extend beyond cosmetic varnish maintenance. Select the scope from evidence and appropriate technical advice rather than from a fixed package of work.
Keep product identity, locations, preparation, significant conditions and corrections in the maintenance file. Compare that record with the current product range when purchasing for a later repair. An old container does not prove that the current formulation or instructions are unchanged. New cuts, holes or hardware changes can expose timber that the earlier coating record no longer covers, and these changes need a fresh assessment. Protecting the appearance of yacht timber is a continuing process involving suitable products, access, preparation, assembly and water management. A glossy final image can support the record, but it cannot verify all of those decisions on its own.
Technical sources and limits
- Nanomix wood varnish family catalogue archive: historical descriptions of separate families; not a current yacht-varnish application sheet.
- USDA Forest Products Laboratory: Wood Handbook, Chapter 16, Finishing Wood: moisture, end grain and finishing principles, without transferring a product recipe.
- Hempel: How to varnish wood: preparation and between-coat review; its ratios and schedules are not instructions for Nanomix.
- HSE: Paint and coatings: product and task-specific working precautions.